The Ultimate White Chocolate Molten Lava Cakes
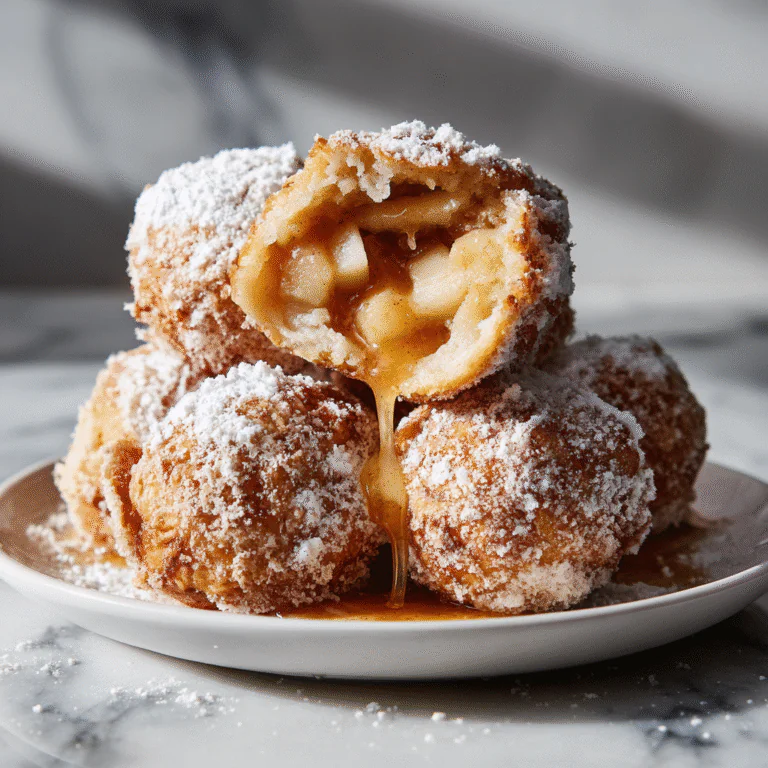
Step aside, dark chocolate. These White Chocolate Molten Lava Cakes are the epitome of elegance—a golden, tender sponge exterior giving way to a warm, flowing river of creamy white chocolate.
Introduction: A Dessert That Speaks the Language of Love
There is something undeniably magical about a lava cake. It is a dessert that involves an element of surprise, a bit of culinary theater right on your plate. For years, the dark chocolate fondant has reigned supreme on restaurant menus. But today, we are lightening things up. We are embracing the sweet, buttery, vanilla-forward profile of white chocolate to create a dessert that is as visually stunning as it is delicious.
The **White Chocolate Molten Lava Cake** is sophisticated yet deceptively simple. Unlike layer cakes that require hours of cooling and frosting, these cakes are meant to be eaten warm, straight from the oven. The contrast between the baked, cake-like shell and the liquid, molten center creates a textural interplay that is addictive. The heavy dusting of powdered sugar on top makes them look like snow-capped peaks hiding a sweet secret.
In this guide, we aren’t just giving you a recipe; we are diving deep into the technique. White chocolate is finicky—it burns easily and can be overly sweet if not balanced correctly. We will teach you how to choose the right chocolate, how to prep your ramekins so the cakes slide out effortlessly, and exactly how long to bake them to achieve that perfect ooze without collapsing. Let’s create some magic.
Ingredients
The quality of your ingredients, especially the chocolate, will define the success of this dish. Here is what you need:
White Chocolate Molten Lava Cakes
Ingredients
Equipment
Method
- Preheat oven to 425°F (220°C). Grease 4 ramekins generously with butter and dust with flour.
- Melt white chocolate and butter together in a double boiler or microwave until smooth. Let cool slightly.
- In a bowl, whisk eggs, egg yolks, powdered sugar, and vanilla until pale and thick.
- Fold the melted chocolate mixture into the egg mixture.
- Sift in flour and salt, folding gently until just combined.
- Divide batter evenly among ramekins. Bake for 12-14 minutes until edges are set but center jiggles.
- Let cool for 1 minute, then invert onto plates. Dust with powdered sugar and serve immediately.
Notes
- – 4 oz (115g) high-quality white chocolate, chopped (do not use chips)
- – 1/2 cup (115g) unsalted butter, cubed
- – 1/2 cup (60g) powdered sugar (confectioners’ sugar)
- – 2 large eggs
- – 2 large egg yolks
- – 1 teaspoon vanilla extract or vanilla bean paste
- – 6 tablespoons (50g) all-purpose flour
- – 1/4 teaspoon salt
- – Extra butter and flour for coating the ramekins
- – Powdered sugar for dusting
- – Optional: Fresh berries (raspberries or strawberries) to serve
Instructions
- Prep the Ramekins: Preheat your oven to 425°F (220°C). Generously grease four 6-ounce ramekins with butter, ensuring you get into the corners. Dust them with flour, tapping out the excess. This step is critical for unmolding. Place the ramekins on a baking sheet.
- Melt the Chocolate and Butter: In a heatproof bowl set over a pot of simmering water (a double boiler), combine the chopped white chocolate and cubed butter. Stir frequently until completely melted and smooth. Remove from heat and let it cool slightly. Alternatively, microwave in 20-second bursts, stirring in between.
- Whisk Eggs and Sugar: In a separate medium bowl, beat the whole eggs, egg yolks, vanilla extract, and powdered sugar together using a hand mixer or whisk until the mixture is pale yellow and slightly thickened (about 2 minutes).
- Combine: Slowly pour the melted chocolate and butter mixture into the egg mixture, whisking constantly to prevent the warm chocolate from scrambling the eggs.
- Add Dry Ingredients: Sift the flour and salt directly into the batter. Gently fold them in using a spatula just until no streaks of flour remain. Do not overmix.
- Fill the Molds: Divide the batter evenly among the prepared ramekins. They should be about 3/4 full.
- Bake: Bake for 12-14 minutes. The edges should be firm and golden brown, but the center should still jiggle slightly when you shake the pan. The top will look puffed and dry.
- Cool and Invert: Let the cakes cool in the ramekins for exactly 1 minute. Run a small knife around the edge to loosen slightly. Place a dessert plate upside down over the ramekin, then carefully flip them over together. Lift the ramekin off to reveal the cake.
- Serve: Dust heavily with powdered sugar immediately. Serve warm with fresh berries or a scoop of tart sorbet.

The Importance of Chocolate Quality
When making a dessert where chocolate is the primary flavor driver, you simply cannot compromise on quality. This is especially true for white chocolate.
Why No Chips? White chocolate chips often contain stabilizers and less cocoa butter to help them hold their shape during baking (like in cookies). In a lava cake, you want the chocolate to melt seamlessly into a liquid pool. Chips can result in a grainy texture or a center that doesn’t flow properly.
Cocoa Butter Content: Look for white chocolate that lists “cocoa butter” as the first or second ingredient. Cheaper brands replace cocoa butter with vegetable oils, which leaves a waxy coating in your mouth and lacks that luxurious melt. Brands like Ghirardelli, Lindt, or Callebaut are excellent choices for baking.
The Science of “Molten”
How do you get a cake that is cooked on the outside but raw on the inside? It is all about heat transfer.
When you place the batter in a high-heat oven (425°F), the outer layer of the batter comes into contact with the hot ceramic ramekin and the hot air. The proteins in the egg and the gluten in the flour coagulate and set rapidly, creating a structural shell. However, because the cake is dense, heat takes time to penetrate to the center.
By pulling the cake out at the 12-14 minute mark, you are catching the baking process in a suspended state. The center has reached a temperature safe enough to pasteurize the eggs (usually) but not hot enough to set the structure completely. This leaves you with that glorious, thickened liquid center.
Equipment: Ramekins vs. Muffin Tins
While ceramic ramekins are the traditional vessel for lava cakes, you might not have them on hand. Can you use a muffin tin?
Ceramic Ramekins: These are ideal because ceramic heats relatively slowly but retains heat well. This allows for a gentle, even bake that prevents the outside from burning before the shell is set. They also make for a beautiful individual presentation if you choose to serve the cake inside the ramekin.
Muffin Tins: Metal conducts heat much faster than ceramic. If using a muffin tin, your cakes will bake faster. You will likely need to reduce the baking time by 2-3 minutes. Furthermore, flipping a 12-cup muffin tin to release 4 cakes is a high-risk maneuver. If using a muffin tin, grease it exceptionally well and perhaps use parchment circles at the bottom.
Troubleshooting Your Lava
Even seasoned bakers sometimes miss the mark with lava cakes. Here is how to fix common issues:
- No Ooze: You overbaked them. Ovens vary wildly in temperature accuracy. Next time, check them 2 minutes earlier. If they are overbaked, don’t worry—they are still delicious blondies! Serve with extra sauce.
- Collapsed Cake: You underbaked them. If the structural shell isn’t thick enough, the weight of the liquid center will cause the cake to implode when you flip it. The top needs to look dry and the edges firm.
- Stuck in the Pan: This is a greasing issue. Butter and flour are your best friends. Alternatively, use melted butter and sugar to coat the ramekins for a crunchy, caramelized crust that releases easily.
Flavor Variations
White chocolate is a neutral, sweet canvas that pairs beautifully with other flavors. Try these infusions:
- Lemon or Orange: Rub fresh citrus zest into the sugar before mixing it with the eggs. The citrus oils will permeate the batter and cut through the sweetness of the white chocolate.
- Matcha Green Tea: Add 1 tablespoon of high-quality culinary matcha powder to the flour. The bitterness of the tea balances the sugar perfectly, and the green color is striking.
- Raspberry Surprise: Before baking, press 2 fresh raspberries into the center of the batter in each ramekin. They will soften and release their tart juice into the molten center.
- Chai Spiced: Add a pinch of cardamom, cinnamon, and ginger to the flour mixture for a warming, winter-spiced version.
Serving Suggestions
Because white chocolate is very sweet, it needs acidic or bitter counterparts to create a balanced dessert plate.
Tart Berries: Fresh raspberries, strawberries, or red currants are essential. Their acidity cuts the fat and sugar.
Coffee: A strong espresso or dark roast coffee is the perfect beverage pairing.
Passion Fruit: If you want to get exotic, spoon some fresh passion fruit pulp over the cake. The tropical tang is incredible with creamy white chocolate.
Conclusion
The White Chocolate Molten Lava Cake is a testament to the fact that you don’t need complicated techniques to create a Michelin-star experience at home. It is a dessert of timing and temperature, rewarding the attentive baker with a river of liquid gold. Whether it’s for Valentine’s Day, a dinner party, or just a Tuesday night treat, this recipe is sure to impress.