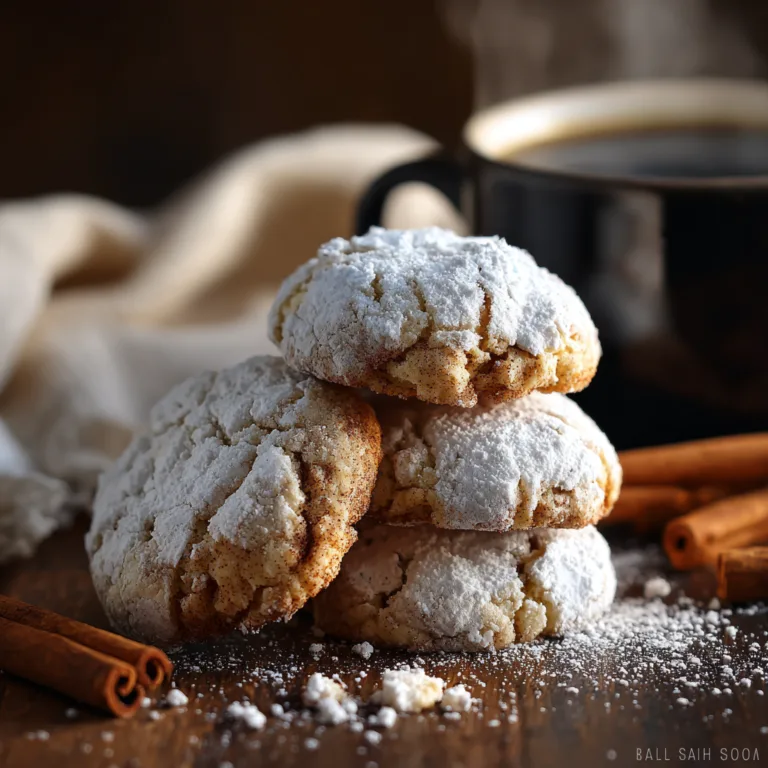
There is a certain nostalgia attached to the sight of a pink, coconut-covered cake. It evokes memories of school fetes, grandmother’s kitchens, and elegant afternoon teas where the china was dainty and the conversation was sweet. These Pink Coconut and Jam Snowballs (often referred to as Jelly Cakes or Gem Scones) are a triumph of texture and flavor. They appear whimsical and delicate, yet they pack a punch of sweetness that is undeniably satisfying.
At their core, these treats are simple: two domes of feather-light vanilla sponge, sandwiched together with tart raspberry jam, dipped in a sweet raspberry jelly syrup, and rolled in a snow-drift of desiccated coconut. The result is a dessert that offers a little bit of everything. You get the crunch and tropical aroma of the coconut, the sticky sweetness of the glaze, the airy softness of the cake, and the fruity burst of the jam in the center. In this comprehensive guide, we are going to break down every single step to ensure that your snowballs turn out perfectly round, perfectly pink, and perfectly delicious.
Why This Recipe Works: The Perfect Balance
You might wonder why we go through the effort of baking, dipping, and rolling. Why not just frost a cupcake? The magic of the Snowball lies in the moisture balance. The sponge cake used in this recipe is designed to be slightly sturdier than a chiffon cake but lighter than a pound cake. This structure is crucial because it needs to absorb the pink syrup without disintegrating.
When you dip the sponge into the warm raspberry gelatin syrup, the outer millimeter of the cake soaks up that liquid gold. This creates a barrier that keeps the inside fluffy while making the outside moist and flavorful. The coconut then adheres to this sticky surface, adding a textural contrast that is essential to the eating experience. Finally, the jam filling cuts through the sweetness of the coating, providing an acidic counterpoint that makes you want to take another bite. It is culinary engineering at its sweetest.
The Science of the Sponge
Before we dive into the mixing bowl, it is important to understand the chemistry happening inside your oven. To achieve that domed shape seen in the picture—which is essential for creating a “ball” when sandwiched—we rely on the interplay between chemical leavening agents (baking powder) and mechanical leavening (creaming butter and sugar).
When you beat the butter and sugar, you are trapping air bubbles in the fat. As the cake bakes, the baking powder releases carbon dioxide, which expands those air bubbles. Because we are baking these in shallow patty pans or a gem scone iron (or even a muffin tin filled only halfway), the heat penetrates quickly, setting the structure before the bubbles can collapse. This results in a tight, tender crumb that is perfect for dipping.

Ingredients
To recreate these vibrant pink delights, you will need the following pantry staples. Do not skimp on quality, especially for the butter and jam.
- – 125g (1/2 cup) unsalted butter, softened to room temperature
- – 165g (3/4 cup) caster sugar (superfine sugar)
- – 2 large eggs, room temperature
- – 1 teaspoon pure vanilla extract
- – 150g (1 cup) self-raising flour, sifted
- – 75g (1/2 cup) plain all-purpose flour, sifted
- – 80ml (1/3 cup) whole milk
- – 1 packet (85g) raspberry jelly crystals (or strawberry for a lighter pink)
- – 250ml (1 cup) boiling water
- – 250g (3 cups) desiccated coconut (fine texture is best)
- – 200g (3/4 cup) high-quality raspberry jam
Instructions
Follow these steps carefully. Baking is a science, but the assembly of these cakes is an art form. Take your time with the dipping process for the best visual results.
Pink Coconut & Jam Snowballs
Ingredients
Equipment
Method
- Preheat oven to 350°F (180°C). Grease a 12-hole round-bottomed patty pan or muffin tin liberally with butter.
- In a large bowl, cream softened butter, vanilla, and sugar until pale and fluffy (approx 3-4 mins).
- Add eggs one at a time, beating well after each addition to ensure the mixture is aerated.
- Sift flours together. Fold flour into the butter mixture alternately with the milk until smooth.
- Spoon batter into tins (2/3 full) and bake for 12-15 minutes until golden and springy.
- Cool cakes completely on a wire rack. Dissolve jelly crystals in boiling water and refrigerate until slightly thickened (cool but liquid).
- Pair cakes by size. Spread raspberry jam on the flat side of one cake and press another against it to form a ball.
- Dip each sandwiched cake quickly into the cooled jelly syrup, then roll immediately in desiccated coconut.
- Place on a tray and refrigerate for 30 minutes to set before serving.
Notes
- Preheat and Prep: Preheat your oven to 180°C (350°F or 160°C fan-forced). Grease a 12-hole round-bottomed patty pan or a muffin tin liberally with butter. If using a muffin tin, you will only fill them shallowly to get the dome shape.
- Cream the Butter and Sugar: In a large mixing bowl, beat the softened butter, vanilla extract, and caster sugar with an electric mixer on medium-high speed. You are looking for a pale, creamy texture. This should take about 3-4 minutes. Do not rush this step; this is where your airiness comes from.
- Add the Eggs: Add the eggs one at a time, beating well after each addition. If the mixture looks like it is curdling, add a tablespoon of the flour to bring it back together. Scrape down the sides of the bowl to ensure even mixing.
- Fold Dry and Wet: Sift the self-raising flour and plain flour together. Add half the flour mixture to the butter mixture and fold gently with a spatula. Add half the milk and fold again. Repeat with the remaining flour and milk. Stop mixing as soon as no white streaks remain. Over-mixing leads to tough cakes.
- Bake: Spoon the batter into the prepared pans, filling them about two-thirds full. Bake for 12–15 minutes. The cakes should spring back when lightly touched and be a pale golden color.
- Cool: Turn the cakes out onto a wire rack immediately to cool. They must be completely cool before dipping, or they will crumble.
- Prepare the Jelly Syrup: While cakes are cooling, place the raspberry jelly crystals in a heatproof bowl. Pour in the boiling water and whisk until completely dissolved. Place the bowl in the fridge for about 20-30 minutes. You want the liquid to be cold and slightly thickened (like egg whites), but not set. This texture helps it cling to the cake.
- The Assembly Station: Set up your workspace. Bowl 1: The chilled jelly syrup. Bowl 2: The desiccated coconut. Bowl 3: The raspberry jam. A tray lined with baking paper for the finished cakes.
- Sandwich the Cakes: Pair up your cakes so they match in size. Spread a generous teaspoon of raspberry jam onto the flat side of one cake and press the flat side of its partner against it to form a ball (or a thick disc).
- Dip and Roll: Quickly dip the sandwiched cake into the jelly syrup. Use two forks to turn it to coat all sides—do not let it soak for more than 2 seconds. Lift it out, let the excess drip off, and toss it immediately into the coconut. Roll gently to coat completely.
- Set: Place the finished Snowball on the lined tray. Repeat with remaining cakes. Refrigerate for at least 30 minutes to let the jelly set and the structure firm up before serving.
Mastering the “Dip”: Troubleshooting Tips
The dipping stage is where most people encounter issues. Here is how to avoid common pitfalls:
The Cake is Crumbling in the Jelly
If your sponge is falling apart when you dip it, two things might be happening. First, the cake might still be too warm. It needs to be completely cool. Second, your jelly mixture might be too hot. If the liquid is hot, it dissolves the delicate crumb of the sponge. Ensure the jelly is chilled to a point where it has a slight viscosity.
The Coconut Won’t Stick
This usually happens if the jelly has set too much on the cake before you roll it. You need to work in a “dip-shake-roll” rhythm. Do not dip all the cakes and then try to roll them. Do one complete Snowball at a time.
The Jam is Leaking Out
If the jam oozes out into the jelly bowl, you may have overfilled the center. Keep the jam in the middle of the cake, leaving a small rim around the edge. When you press the cakes together, the jam will spread to the edge without spilling over. Alternatively, you can dip the cakes individually, roll them in coconut, and then sandwich them with jam, though this makes for a messier eating experience.
Variations on the Classic
While the Raspberry and Coconut combination is the classic “Vovo” or “Lamington” style profile, this recipe is a blank canvas for creativity.
The Lemon Drop: Swap the raspberry jelly for lemon jelly crystals and fill the center with lemon curd instead of raspberry jam. This creates a zesty, bright yellow snowball that is perfect for spring picnics.
The Chocolate Indulgence: Instead of jelly, make a thin chocolate ganache or cocoa icing. Dip the sponge cakes in the chocolate and roll in coconut. Fill the center with whipped cream and a dot of chocolate spread. This effectively turns the snowball into a round Lamington.
The Cream Dream: If you want to make these even more decadent (and you plan to eat them immediately), pipe a layer of stabilized whipped cream along with the jam in the center. The cream adds a lush, dairy richness that pairs beautifully with the dry coconut texture.
Storage and Shelf Life
Unlike a standard cookie, these cakes have a higher moisture content due to the dipping process. This affects how you should store them.
Room Temperature: If the weather is cool, you can keep them in an airtight container for up to 2 days. However, the jelly coating can become sticky if it is too humid.
Refrigerator: This is the best place for them. Stored in an airtight container, they will last for 4-5 days. In fact, many people prefer eating them cold, as the sponge firms up slightly and the jelly coating becomes refreshing.
Freezing: You can freeze the undipped sponge cakes for up to a month. However, once dipped and rolled in coconut, freezing is not recommended as the jelly tends to weep and the coconut becomes soggy upon thawing.
A Note on Coconut Types
The recipe calls for desiccated coconut, not shredded or flaked coconut. The distinction is important. Desiccated coconut is much finer and drier. It provides a complete, snow-like coating that seals the moisture in. Shredded coconut is too long and stringy, which will result in bald spots on your cakes and a chewy texture that competes with the soft sponge. If you only have shredded coconut, pulse it in a food processor a few times to break it down into a finer consistency.
Serving Suggestions
These Pink Coconut and Jam Snowballs are the quintessential “afternoon tea” treat. They demand a hot beverage to balance the sweetness.
Tea: An Earl Grey is a fantastic pairing. The bergamot notes cut through the sugar and complement the raspberry flavor.
Coffee: A black coffee or a flat white works well, providing a bitter contrast to the sweet coconut coating.
Presentation: Serve these piled high on a tiered cake stand for dramatic effect. The contrast of the white coconut and pink interior looks stunning against white porcelain.
Conclusion
In a world of complex, multi-layered patisserie and deconstructed desserts, the Pink Coconut and Jam Snowball stands out for its honest simplicity. It doesn’t hide behind fancy techniques; it delivers pure, unadulterated comfort. Whether you are making them for a Valentine’s Day treat, a birthday party, or simply because you have a craving for something sweet and soft, this recipe will not let you down.
The process of making them—the baking, the dipping, the rolling—is almost therapeutic. It is a tactile experience that connects you to the generations of home bakers who came before. So, put on the kettle, get your dipping bowls ready, and enjoy the sweet success of homemade snowballs.