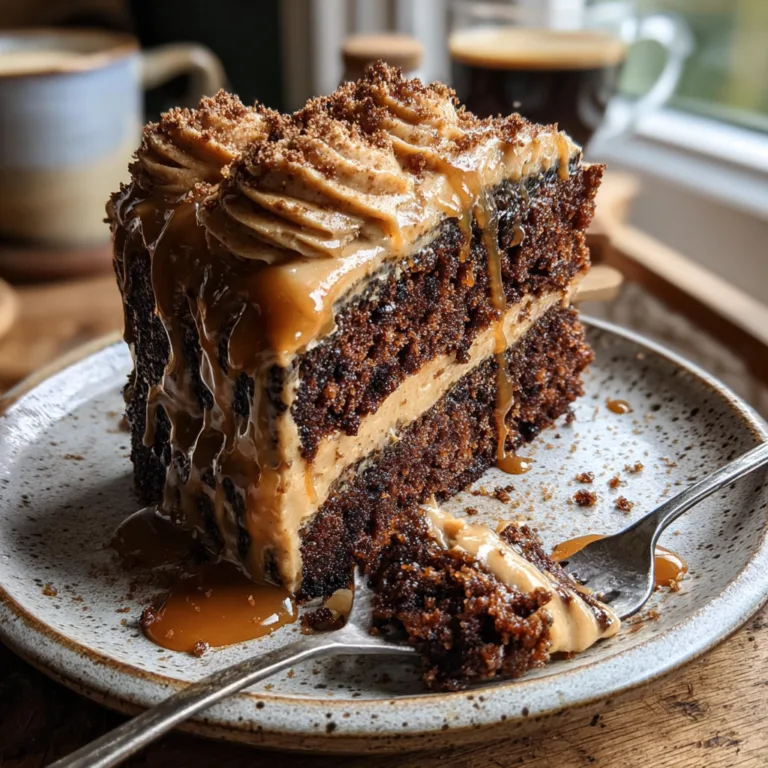
The Ultimate Indulgence: Where Two Bakery Classics Collide
If you have ever found yourself staring at a dessert menu, torn between the rich, cocoa-laced allure of a classic red velvet cake and the dense, creamy comfort of a New York-style cheesecake, this recipe is your ultimate culinary salvation. We are introducing the Decadent Red Velvet Strawberry Cheesecake Layer Cake—a show-stopping, multi-tiered masterpiece that refuses to compromise on flavor, texture, or visual impact. This isn’t just a cake; it is a meticulously engineered symphony of beloved dessert profiles, crowned with a vibrant, glossy strawberry glaze that elevates the entire experience from delicious to truly unforgettable.
Red velvet has always held a special place in the pantheon of cakes. With its signature crimson hue, its subtle undertones of chocolate, and its uniquely tender crumb born from the chemical reaction between cocoa powder, vinegar, and buttermilk, it screams celebration. Cheesecake, on the other hand, is the undisputed king of richness—a luxurious, velvety indulgence that coats the palate. By combining these two titans of the pastry world and introducing the bright, sweet-tart acidity of fresh strawberries and a mirror-like berry glaze, we create a dessert that balances its own decadence. It is the perfect centerpiece for a romantic Valentine’s Day dinner, a festive holiday gathering, or an extravagant weekend baking project that will leave your friends and family utterly speechless.
Creating a hybrid cake of this magnitude might seem intimidating, but the secret lies in understanding the distinct components and treating each with the respect it deserves. In this comprehensive, step-by-step guide, we will journey through the science and art of layered dessert building. From achieving the perfectly moist red velvet base to baking a crack-free, silky cheesecake center, and finally mastering the glossy strawberry topping, you will acquire the skills necessary to replicate this bakery-window marvel in the comfort of your own home kitchen.
Deconstructing the Layers: A Symphony of Flavor and Texture
To truly appreciate the brilliance of this cake, we must break it down into its core architectural elements. Great desserts are rarely about a single note; they are about how different textures and flavors interact, contrast, and ultimately harmonize with one another on the spoon.
First, we have the foundation: the red velvet cake. Unlike a standard chocolate or vanilla cake, a true red velvet is an exercise in subtlety. The small amount of cocoa powder provides a mild earthiness, while the buttermilk and a touch of vinegar offer a slight tang that tenderizes the gluten in the flour. This results in a cake layer that is dense enough to support the heavy cheesecake above it, yet incredibly soft and moist in the mouth. It provides a grounding, slightly chocolatey base that prevents the overall dessert from becoming overwhelmingly sweet.
Next comes the heart of the dessert: the baked cheesecake layer. This isn’t a fluffy, no-bake mousse; this is a traditional, baked cream cheese center. It brings a dense, luxurious, and highly dairy-forward richness that melts on the tongue. The slight acidity of the cream cheese and sour cream in the batter acts as a bridge to the tangy notes in the red velvet base, creating a seamless flavor transition. Its stark white-and-creamy visual appearance also creates a stunning contrast against the vibrant red layers below and above it.
Finally, the crowning glory: the strawberry glaze and fresh fruit garnish. Rich desserts desperately need acid to cut through the fat, and that is exactly what this glossy red topping provides. The jelly-like glaze packs a concentrated punch of fruity sweetness and tartness, refreshing the palate and making you crave the next bite. The addition of freshly whipped cream introduces an airy, cloud-like texture, while the dark chocolate shavings provide a final, slightly bitter crunch that ties back to the cocoa notes hiding in the red velvet base. Every single element on this plate has a distinct, vital purpose.

The Secret to the Perfect Baked Cheesecake Center
The most crucial—and often most feared—component of this recipe is the cheesecake layer. Baking a cheesecake that is perfectly smooth, creamy, and free of unsightly cracks requires a bit of baking science and a lot of patience. The first non-negotiable rule is temperature control: your cream cheese, eggs, and sour cream absolutely must be at room temperature before you begin mixing. Cold cream cheese will stubbornly hold onto lumps, forcing you to overmix the batter. Overmixing incorporates excess air, which puffs up in the oven and then collapses as it cools, leading to a cracked, dense, and unappealing texture.
When blending your cheesecake batter, use a paddle attachment on a low speed rather than a whisk. You want to smoothly combine the ingredients, not aerate them. Once the batter is poured into the pan, tapping it gently on the counter will help release any trapped air bubbles.
Baking the cheesecake layer using a water bath (bain-marie) is highly recommended, even if it is going to be sandwiched between other layers. A water bath insulates the delicate custard, providing a gentle, even, and moist heat that prevents the edges from overbaking before the center is set. Furthermore, the cooling process is just as important as the baking process. Once the cheesecake is mostly set with a slight jiggle in the center, turn the oven off, crack the door open, and let it cool slowly for an hour. This gradual temperature reduction prevents the thermal shock that causes cracks and structural failures. Finally, the cheesecake layer must be completely chilled—preferably overnight—before you even attempt to assemble the final dessert.
Ingredients
For the best possible results, ensure you are using high-quality cocoa powder, pure vanilla extract, and the freshest strawberries you can find. Let your refrigerated ingredients come to room temperature before beginning.
For the Red Velvet Cake Base:
- – 1 1/4 cups all-purpose flour
- – 1/4 cup unsweetened natural cocoa powder
- – 1/2 teaspoon baking soda
- – 1/4 teaspoon kosher salt
- – 1/2 cup (1 stick) unsalted butter, softened to room temperature
- – 1 cup granulated sugar
- – 1 large egg, room temperature
- – 1 teaspoon pure vanilla extract
- – 1/2 cup buttermilk, room temperature
- – 1 tablespoon liquid red food coloring (or 1 tsp concentrated gel)
- – 1/2 teaspoon white vinegar
For the Cheesecake Center:
- – 16 oz (2 blocks) full-fat cream cheese, completely softened
- – 2/3 cup granulated sugar
- – 2 large eggs, room temperature
- – 1/3 cup full-fat sour cream, room temperature
- – 1 teaspoon pure vanilla extract
- – 1 tablespoon all-purpose flour
For the Strawberry Glaze and Garnish:
- – 2 cups fresh strawberries, hulled and quartered (plus extra for garnish)
- – 1/3 cup granulated sugar
- – 1 tablespoon freshly squeezed lemon juice
- – 1 teaspoon unflavored powdered gelatin (bloomed in 1 tbsp cold water)
- – 1/2 cup heavy whipping cream, whipped to stiff peaks
- – 1/4 cup dark chocolate shavings (use a vegetable peeler on a chocolate bar)
Instructions
This recipe requires multiple steps and chilling times. It is highly recommended to bake the cheesecake layer a day in advance to ensure it is perfectly firm for assembly.
- Prepare the Cheesecake Layer (Day 1): Preheat your oven to 325°F (160°C). Line an 8-inch round cake pan with a circle of parchment paper and generously grease the sides.
- Mix the Cheesecake Batter: In a large bowl, beat the softened cream cheese on medium-low speed until perfectly smooth. Gradually add the granulated sugar and flour, mixing until combined. Add the eggs one at a time, mixing just until the yolk disappears. Finally, fold in the sour cream and vanilla extract. Do not overmix.
- Bake the Cheesecake: Pour the batter into the prepared pan. Place this pan inside a larger roasting pan. Pour boiling water into the roasting pan until it reaches halfway up the side of the cake pan. Bake for 45-50 minutes, or until the edges are set but the center still jiggles slightly. Turn the oven off, crack the door, and let it cool for 1 hour. Remove from the water bath, cool to room temperature, and refrigerate overnight.
- Prepare the Red Velvet Base (Day 2): Preheat oven to 350°F (175°C). Grease and line an 8-inch round cake pan with parchment paper. In a medium bowl, whisk together the flour, cocoa powder, baking soda, and salt.
- Mix the Red Velvet Batter: In a stand mixer, cream the softened butter and granulated sugar until light and fluffy (about 3 minutes). Beat in the egg and vanilla extract. In a small cup, mix the buttermilk, red food coloring, and vinegar. Alternately add the dry ingredients and the wet buttermilk mixture to the butter mixture, beginning and ending with the dry. Mix just until combined.
- Bake the Red Velvet Cake: Pour the batter into the prepared pan and smooth the top. Bake for 25-30 minutes, or until a toothpick inserted into the center comes out clean. Allow the cake to cool completely in the pan for 15 minutes before turning it out onto a wire rack to cool completely.
- Prepare the Strawberry Glaze: In a small saucepan, combine the 2 cups of quartered strawberries, 1/3 cup sugar, and lemon juice. Cook over medium heat for 10-15 minutes until the strawberries break down completely and the mixture is syrupy. Remove from heat and pass through a fine-mesh sieve to remove the seeds. Return the smooth purée to the warm saucepan (off the heat) and stir in the bloomed gelatin until completely dissolved. Let the glaze cool to room temperature (it will thicken as it cools).
- Assemble the Cake: Level the top of the cooled red velvet cake using a serrated knife if it has domed. Place the red velvet cake onto your serving platter. Carefully remove the chilled cheesecake from its pan (you can freeze it for 30 minutes beforehand to make handling easier) and place it directly on top of the red velvet base.
- Apply the Glaze: Ensure your springform pan ring or a cake collar is tightly secured around the stacked cakes. Pour the cooled, thickened strawberry glaze over the top of the cheesecake layer, spreading it to the edges. Transfer the entire cake to the refrigerator for at least 2-3 hours to allow the gelatin glaze to set completely.
- Garnish and Serve: Once the glaze is firm, carefully remove the cake collar. Just before serving, pipe rosettes of fresh whipped cream around the border or on individual slices. Garnish with fresh, sliced strawberries and a generous dusting of dark chocolate shavings. Slice with a sharp, warm knife for clean cuts. Enjoy!

Elevating Your Dessert: The Art of the Glaze and Garnish
The visual impact of this cake rests heavily on the success of the strawberry glaze and the final garnishes. The glaze acts like a mirror, providing a professional, patisserie-level finish that elevates the homemade dessert into a true work of art. Using fresh strawberries rather than a pre-made jam ensures a vibrant, bright flavor profile that isn’t cloyingly sweet. The small amount of gelatin is the secret weapon here; it provides stability, allowing the glaze to set into a firm, sliceable layer rather than running down the sides of the cake and creating a messy presentation.
When it comes to the chocolate shavings, resist the urge to use store-bought chocolate chips. Instead, take a block of high-quality dark chocolate (around 60-70% cacao). Ensure the chocolate is at room temperature—if it is too cold, it will splinter; if it is too warm, it will melt into a paste. Take a standard vegetable peeler and scrape it along the long edge of the chocolate bar. This technique creates beautiful, delicate, curling ribbons of chocolate that not only look spectacular but also melt instantly on the tongue, providing a sudden burst of rich cocoa flavor that harmonizes beautifully with the red velvet base.
Make-Ahead Tips and Storing Your Masterpiece
Due to its intricate layers and required chilling times, this Red Velvet Strawberry Cheesecake is the ultimate make-ahead dessert. It practically demands to be made over the course of two days, which breaks the labor down into highly manageable, stress-free segments. The cheesecake layer can actually be baked up to three days in advance and kept tightly wrapped in the refrigerator. Similarly, the red velvet cake layer can be baked, cooled, wrapped in plastic wrap, and stored at room temperature a day before assembly.
Once the entire cake is assembled and glazed, it must be stored in the refrigerator. The dairy in the cheesecake and the whipped cream garnish require constant chilling. Cover any exposed sides of the cake lightly with plastic wrap or store the entire cake in an airtight cake dome. It will keep beautifully in the refrigerator for up to 4 days, making it an excellent option to prepare before a busy holiday or event. When you are ready to serve, pull the cake from the fridge about 15 minutes prior to slicing. This takes the harsh chill off the red velvet cake, allowing the butter-based crumb to soften slightly and release its full spectrum of flavors.
Conclusion: A Slice of Pure Romance and Decadence
Baking the Decadent Red Velvet Strawberry Cheesecake Layer Cake is an investment of time, love, and culinary passion. It is a dessert that demands attention and rewards you with a multi-sensory experience that is truly unparalleled. The striking visual contrast of the deep red crumb, the pristine white cheesecake, and the ruby-red glaze is matched only by the harmonious explosion of flavors—earthy cocoa, rich cream cheese, and bright, sweet berries.
This is not just a cake you bake on a whim; it is a cake you craft to celebrate a moment, to impress a loved one, or simply to prove to yourself that you are capable of producing bakery-tier confections in your own home. Do not let the multiple steps intimidate you. Follow the science, trust the process, and take pride in each layer you build. When you finally sink that silver fork through the glossy strawberry jelly, down through the velvety cheesecake, and into the tender red velvet crumb, you will know that every minute spent in the kitchen was unequivocally worth it. Happy baking!
Red Velvet Strawberry Cheesecake
Ingredients
Equipment
Method
- Make the Cheesecake Layer: Preheat oven to 325°F (160°C). Grease an 8-inch pan. Beat cream cheese until smooth, then mix in sugar and flour. Add eggs one at a time, followed by sour cream and vanilla. Do not overmix.
- Pour batter into pan. Bake in a water bath for 45-50 minutes until edges are set but center jiggles. Cool in oven for 1 hour, then refrigerate overnight.
- Make the Red Velvet Base: Preheat oven to 350°F (175°C). Grease an 8-inch pan. Whisk dry ingredients. Cream butter and sugar, then add egg and vanilla. Mix buttermilk, dye, and vinegar. Alternately add wet and dry to butter mixture.
- Bake red velvet layer for 25-30 minutes. Cool completely on a wire rack.
- Make the Glaze: Cook 2 cups strawberries, sugar, and lemon juice until syrupy. Strain to remove seeds. Stir bloomed gelatin into the warm purée until dissolved. Let cool to room temperature.
- Assemble: Place red velvet layer on a plate. Carefully top with the chilled cheesecake layer. Secure a cake collar around the cake.
- Pour the cooled strawberry glaze over the cheesecake layer. Refrigerate for 2-3 hours until the glaze is completely set.
- Remove the collar. Garnish with piped whipped cream, fresh strawberry slices, and dark chocolate shavings before serving.