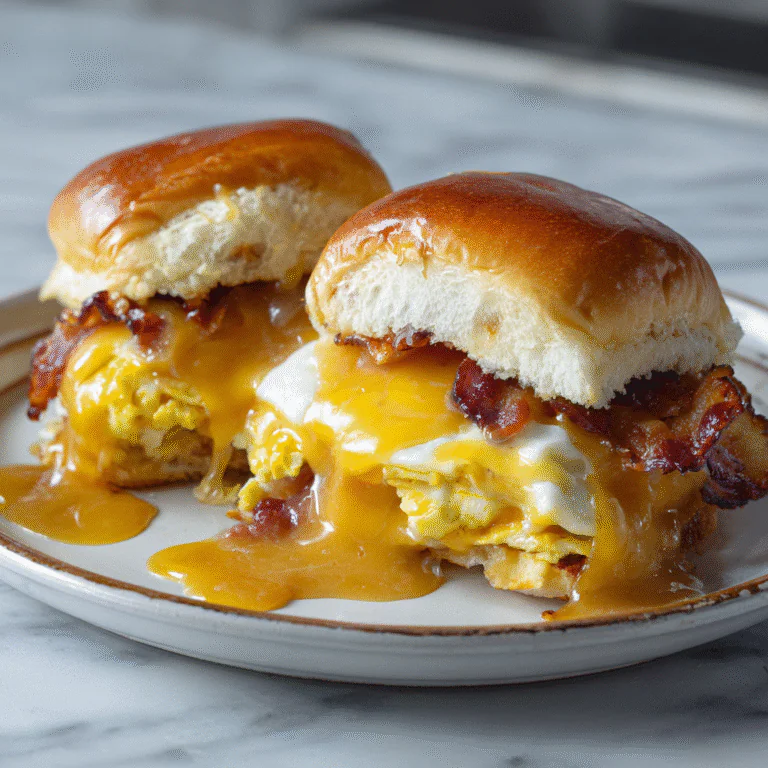
Ham and Cheese Butter Swim Biscuits: The Ultimate Savory Breakfast
If you have ever been intimidated by the prospect of making homemade biscuits—the cutting in of cold fat, the gentle kneading, the rolling, the cutting—then prepare to have your world changed. Ham and Cheese Butter Swim Biscuits are the answer to your prayers. They are exactly what they sound like: fluffy, tender dough that is baked while literally “swimming” in a pool of melted butter.
There is no rolling pin required. There is no pastry cutter needed. It is a simple stir, dump, and bake situation that results in the most incredible texture imaginable: a bottom crust that is effectively fried in butter, crispy edges, and a pillow-soft interior packed with savory chunks of ham and melting cheddar cheese. In this comprehensive guide, we will explore the magic behind the “butter swim” technique, why buttermilk is non-negotiable, and how to turn this recipe into your new family favorite for breakfast, brunch, or dinner.
🧈 What Are Butter Swim Biscuits?
Butter swim biscuits (sometimes called “butter dip biscuits”) are a type of quick bread that defies traditional biscuit logic. Usually, you want to keep your butter cold and distinct from the flour to create flaky layers. Here, we embrace a different approach.
- The Swim: Instead of incorporating the fat into the dough, the fat (butter) is melted and placed in the bottom of the baking dish. The wet dough is placed on top.
- The Bake: As the biscuits bake, the butter bubbles up the sides and over the top, creating a golden, fried crust that is impossibly rich.
- The Texture: The result is less like a flaky layered biscuit and more like a cross between a focaccia and a traditional Southern biscuit—tender, moist, and slightly cake-like in the center with a crunch on the outside.

🛒 Ingredients
The Dry Mix
- 2 1/2 cups All-Purpose Flour: This provides the structure. You do not need self-rising flour for this recipe; we will create our own rise.
- 4 tsp Baking Powder: This is a heavy amount of leavening, but it is necessary to lift the heavy, wet dough and the added weight of the ham and cheese.
- 2 tsp Sugar: Just a touch to aid in browning and balance the saltiness of the ham.
- 1 tsp Salt: Essential for flavor.
The Wet Mix
- 2 cups Buttermilk: Crucial. The acidity in buttermilk reacts with the baking powder to create the lift. It also tenderizes the gluten, ensuring the biscuits are soft rather than tough. If you don’t have buttermilk, you can make a substitute with milk and vinegar, but real buttermilk yields the best flavor.
- 1 cup Ham: Cooked and diced. This is the perfect use for leftover holiday ham, but thick-cut deli ham works perfectly too.
- 1 cup Cheddar Cheese: Sharp cheddar is best. Shred it yourself from a block for better melting capability, as pre-shredded cheese is coated in starch.
The Pool
- 1 stick (1/2 cup) Unsalted Butter: Melted. Yes, a whole stick. Trust the process.
📝 Instructions
- Prep the Oven and Pan: Preheat your oven to 450°F (230°C). This high heat is essential for the “oven spring” (the rapid rise of the dough) and for crisping the edges.
- Melt the Butter: Place the stick of butter in an 8×8 or 9×9 inch square baking dish (glass or ceramic works well). You can put the dish in the preheating oven for a few minutes to melt the butter, or melt it in the microwave and pour it in. Make sure the butter coats the bottom evenly.
- Mix Dry Ingredients: In a large bowl, whisk together the flour, baking powder, sugar, and salt. Make sure the baking powder is evenly distributed so you don’t get bitter pockets.
- Add Mix-ins: Toss the diced ham and shredded cheese into the flour mixture. Stir them around so they are coated in flour. This prevents them from clumping together or sinking to the bottom of the batter.
- Add Buttermilk: Pour in the cold buttermilk. Using a spatula or wooden spoon, stir until just combined. Do not overmix! The dough will be wet and sticky, resembling a thick batter more than a rollable dough. This is correct.
- The Swim: Dump the sticky dough directly onto the pool of melted butter in your baking dish.
- Spread: Using your spatula, gently spread the dough out to the edges of the pan. The melted butter will squish up the sides and may even pool on top of the dough. This is exactly what you want.
- Pre-Cut: Use a sharp knife or a bench scraper to cut the raw dough into 9 squares right in the pan. The cuts won’t stay perfectly open, but this guides the biscuits to bake into separate squares.
- Bake: Place in the hot oven and bake for 20-25 minutes.
- The Finish: They are done when the tops are deep golden brown and the butter has mostly absorbed (though a little bubbling around the edges is fine).
- Cool: Let them sit in the pan for 5 minutes before serving. This allows the crumb to set and the last bit of butter to be absorbed back into the bread.
🔬 The Science of the “Crispy Bottom”
Why do these biscuits taste so good? It is the Maillard reaction. By baking the dough directly in the hot fat, the bottom of the biscuit essentially fries. The milk solids in the butter brown and caramelize, creating a nutty, savory flavor profile that permeates the crust. The interior, shielded by the crust and the steam generated by the buttermilk, steams gently, remaining moist and fluffy.
💡 Variations to Try
While Ham and Cheese is a classic combo, this base recipe is incredibly versatile.
- Jalapeño Popper: Add diced pickled jalapeños and use cream cheese chunks along with the cheddar.
- Sausage Gravy Base: Omit the ham and cheese, bake plain butter swim biscuits, and smother them in sausage gravy.
- Garlic Herb: Add 1 tsp of garlic powder and chopped fresh chives to the dry mix.
- Bacon Swiss: Swap the ham for cooked, crumbled bacon and the cheddar for Swiss cheese.
🍞 Troubleshooting Tips
- Biscuits are Greasy: If there is a lot of pool butter left after baking, let them sit. The bread acts like a sponge. If it’s still too much for your taste, simply lift them out onto a paper towel. However, “greasy” is arguably the point of this recipe!
- Soggy Center: This happens if the oven wasn’t hot enough or if the biscuits were underbaked. Don’t be afraid of the 450°F temperature; you need that blast of heat.
- Tough Texture: You overmixed the batter. When adding the buttermilk, stop stirring the second the flour streaks disappear.
❄️ Storage and Reheating
- Fridge: Because of the meat and cheese, store leftovers in an airtight container in the refrigerator for up to 3 days.
- Freezing: Wrap individual biscuits tightly in plastic wrap and foil. Freeze for up to 2 months.
- Reheating: The microwave makes them soft (which is fine), but a toaster oven or air fryer will bring back the crispy edges. 350°F for 3-4 minutes usually does the trick.
🏁 Conclusion
Ham and Cheese Butter Swim Biscuits are the ultimate comfort food hack. They deliver maximum flavor impact with minimum effort, dirtying only one bowl and one baking dish. They are savory, rich, buttery, and incredibly satisfying. Whether you are needing a quick dinner side dish or a hearty grab-and-go breakfast, this recipe is a reliable winner that will have everyone asking, “How did you get them so buttery?” The secret is simple: you let them swim.
Ham and Cheese Butter Swim Biscuits
Ingredients
Equipment
Method
- Preheat oven to 450°F (230°C). Melt the stick of butter and pour it into an 8×8 or 9×9 inch square baking dish.
- In a large bowl, whisk together flour, baking powder, sugar, and salt.
- Stir in the diced ham and shredded cheese until coated with the flour mixture.
- Pour in the cold buttermilk and mix until just combined. The dough will be wet and sticky.
- Pour the batter over the melted butter in the baking dish. Use a spatula to spread it evenly to the edges.
- Use a knife to cut the dough into 9 even squares (cuts will not stay perfect, this is fine).
- Bake for 20-25 minutes until the tops are golden brown.
- Let cool for 5 minutes before serving to allow butter to absorb.