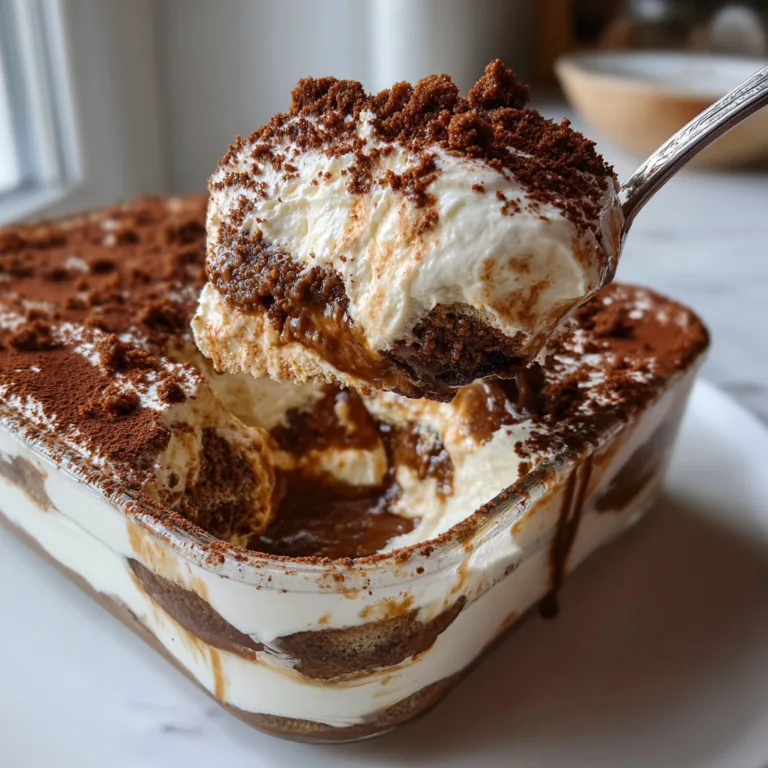
☁️ The Heavenly Secret to Fluffy Japanese Cotton Cheesecake Cupcakes
If your idea of “cheesecake” is a dense, rich, heavy slice of New York-style dessert, prepare to have your world turned upside down. We are about to embark on a journey to create something entirely different. Something magical. We’re making Fluffy Japanese Cotton Cheesecake Cupcakes.
These are not just cheesecakes. They are little, edible clouds. They are the ethereal, melt-in-your-mouth hybrid of a light-as-air soufflé and a tangy, creamy cheesecake. When they’re fresh from the oven, they have a signature “jiggle” that has mesmerized the internet, and when you take a bite, it’s not a dense, rich experience but a light, cottony, and delicate one.
The beautiful, golden-domed tops, the dusting of powdered sugar, and the shockingly light texture make them one of the most unique and beloved desserts in the world. And while they may look intimidating, the truth is that with a little bit of science and a dash of patience, you can create these heavenly little cupcakes right in your own kitchen.
Forget everything you think you know about cheesecake. It’s time to learn the secret of the fluff.

🌟 What on Earth is a “Cotton” Cheesecake?
The name “cotton” (or wata) is a perfect descriptor. This dessert gets its name from its incredible, melt-in-your-mouth texture that is as light and soft as a ball of cotton. Unlike its Western counterparts that are dense, heavy, and packed with cream cheese, the Japanese version is a “soufflé cheesecake.”
This means it gets its structure and legendary lightness from one key technique: meringue.
The entire recipe hinges on separating your eggs, creating a rich, creamy “yolk base” with the cream cheese, and then folding in a cloud of perfectly whipped egg whites (meringue). This meringue is what traps air into the batter, causing the cupcakes to puff up dramatically in the oven like a soufflé.
The second secret? A water bath (or bain-marie). These delicate cupcakes are not baked with dry, direct heat. Instead, the muffin tin is placed inside a larger pan filled with hot water. This creates a hot, steamy, and humid environment in the oven, which does two things:
- It bakes the cheesecakes with gentle, even, moist heat.
- It prevents the tops from drying out and cracking (the #1 enemy of a perfect cheesecake).
The result is a cupcake that is impossibly moist, tender, and has a uniform, delicate crumb from top to bottom.
🔬 The Science of the Fluff: Meringue is Everything
This is the most critical part of the entire recipe. If you master this step, you will master the cotton cheesecake. The meringue (whipped egg whites and sugar) is your one and only leavening agent. There is no baking soda or baking powder here. All the “lift” comes from the air you beat into those egg whites.
Here’s the breakdown:
- The Base: First, you create the flavor base by melting cream cheese, butter, and milk. This mixture is then cooled and combined with egg yolks and flour. This is your “yolk batter,” and it’s rich, thick, and full of flavor.
- The Lift: In a separate, spotlessly clean bowl, you beat your egg whites. The “clean” part is non-negotiable. Any drop of grease, oil, or egg yolk in that bowl and your whites will not whip properly.
- Acid is Your Friend: You’ll add a little lemon juice or cream of tartar to the egg whites. This acid stabilizes the whites, helping them whip up stronger and be less likely to collapse.
- Stiff Peaks: You’ll beat the whites, slowly adding sugar, until they reach “stiff peaks.” This means when you lift the beaters out of the meringue, the peak that forms holds its shape perfectly. It shouldn’t flop over.
- The Fold: Now, the most delicate operation. You cannot stir the meringue into the yolk batter; you must fold it. Using a large spatula, you gently scoop from the bottom of the bowl, up and over the top, turning the bowl as you go. You do this in three batches. The goal is to incorporate the light, airy meringue into the heavy, dense yolk base without deflating all the air you just worked so hard to create.
It’s this patient, gentle folding that creates a batter that is light, airy, and ready to become a cloud.
🛒 Your Simple Shopping List for Airy Perfection
The good news is that these “fancy” cupcakes use incredibly simple, basic ingredients.
- 4.5 oz (130g) cream cheese, (full-fat, block style)
- 1/4 cup (50g) unsalted butter
- 1/2 cup (100ml) whole milk
- 4 large eggs, separated (this is crucial)
- 1/2 tsp lemon juice (or 1/4 tsp cream of tartar)
- 1/2 cup (100g) granulated sugar, divided
- 1/2 cup (60g) all-purpose flour
- 2 tbsp (20g) cornstarch
- 1 tsp vanilla extract
- Powdered sugar, for dusting

🧑🍳 Step-by-Step to Your Fluffiest Dream
Take a deep breath. Read the instructions first. You can do this!
- Pre-Prep: Preheat your oven to 320°F (160°C). Line a 12-cup standard muffin tin with paper liners. Find a large roasting pan or baking dish that your muffin tin can fit inside. Boil a kettle of water for the water bath.
- Create the Yolk Base: In a small saucepan over low heat, gently melt the cream cheese, butter, and milk, whisking constantly until smooth. (Alternatively, microwave in 30-second bursts, whisking in between).
- Cool the Base: Remove the pan from the heat and let it cool for 5-10 minutes. It’s very important that it’s not hot, or it will scramble the eggs.
- Add Yolks & Vanilla: Once lukewarm, whisk in the 4 egg yolks, one at a time, until fully combined. Whisk in the vanilla extract.
- Sift Dry Ingredients: In a separate small bowl, sift the all-purpose flour and cornstarch together. Sifting is key to a smooth, lump-free batter. Sift the dry ingredients again into the cream cheese mixture and whisk until just combined. Do not overmix. Set this “yolk batter” aside.
- Make the Meringue: In a large, spotlessly clean mixing bowl, add your 4 egg whites and the 1/2 tsp of lemon juice. Beat with an electric mixer on medium speed until foamy.
- Add Sugar: With the mixer still running, slowly add the 1/2 cup of granulated sugar, one tablespoon at a time. This helps the sugar dissolve and creates a strong, stable meringue.
- Stiff Peaks: Once all the sugar is added, increase the speed to high and beat until the meringue forms stiff, glossy peaks.
- The First Fold: Take about one-third of your meringue and add it to the yolk batter. You can be a little less gentle with this first “sacrificial” fold. This is just to lighten up the heavy yolk batter.
- The Final Folds: Add the remaining meringue in two more batches, folding gently with a large spatula after each addition. Scrape the bottom of the bowl, bringing it up and over the top. Stop as soon as no more white streaks remain. Do not deflate your batter!
- Fill and Bake (Water Bath): Divide the airy batter evenly among the 12 cupcake liners. They will be quite full.
- Place the muffin tin inside your large roasting pan. Carefully pour the hot water from your kettle into the roasting pan until it comes about 1-inch up the sides of the muffin tin.
- Bake: Carefully transfer the entire setup to the preheated oven. Bake for 20-25 minutes, or until the tops are golden brown, puffed, and a skewer inserted into the center comes out clean.
- The Slow Cool (Crucial!): To prevent the dreaded “sinking,” you must cool them slowly. Turn off the oven. Crack the oven door open with a wooden spoon and let the cupcakes sit in the cooling oven for 15-20 minutes.
- Final Cool: Remove the muffin tin from the water bath and let the cupcakes cool on a wire rack. They will deflate slightly; this is normal.
- Serve: Once cool, dust generously with powdered sugar. These are best served the same day, at room temperature.
💡 Pro-Tips for Zero-Crack, Zero-Sink, Maximum-Fluff
- Room Temperature is Key: Your cream cheese and eggs must be at room temperature (except for the cold milk/butter, which get melted). This helps them combine smoothly.
- Be Patient With the Meringue: Don’t dump all the sugar in at once. Adding it slowly creates a much stronger, more stable meringue that won’t collapse.
- The Water Bath is NOT Optional: Do not try to bake these with dry heat. You will get dense, cracked, rubbery pucks. The steam is the secret.
- Don’t Open the Oven: For the first 20 minutes of baking, do not open the oven door. The sudden drop in temperature will cause your delicate soufflés to collapse instantly.
- Embrace Imperfection: Your first batch might crack. They might sink a little more than you want. That’s okay! A “failed” Japanese cheesecake (as seen in my own amateur photos) is still one of the most delicious, light, and tender things you will ever eat.
☁️ Welcome to Cloud Nine
And there you have it. You’ve successfully channeled a bit of baking science and a lot of patience to create something truly special.
That first bite is an experience. The delicate, golden-brown top gives way to an interior that is so light, so airy, so “cottony,” that it almost dissolves on your tongue. It’s the perfect balance of tangy cream cheese and light, sweet soufflé. This is not just a cupcake; it’s a culinary magic trick.
So go ahead, dust them with powdered sugar, pour yourself a cup of tea, and take a bite. Welcome to cloud nine.
Fluffy Japanese Cotton Cheesecake Cupcakes
Ingredients
Equipment
Method
- Preheat oven to 320°F (160°C). Line a 12-cup muffin tin with liners. Prepare a large roasting pan for a water bath.
- In a small saucepan over low heat, gently melt cream cheese, butter, and milk, whisking until smooth. Remove from heat and let cool until lukewarm.
- Once lukewarm, whisk in the 4 egg yolks, one at a time, then whisk in the vanilla extract.
- Sift the all-purpose flour and cornstarch together into the cream cheese mixture. Whisk gently until just combined and smooth.
- In a separate, large, clean bowl, beat the 4 egg whites and lemon juice with an electric mixer until foamy.
- Slowly add the 1/2 cup of granulated sugar while beating. Continue to beat on high speed until stiff, glossy peaks form.
- Gently fold the meringue into the yolk batter in three batches using a spatula. Stop folding as soon as no white streaks remain.
- Divide the batter evenly among the 12 cupcake liners. They will be quite full.
- Place the muffin tin inside the large roasting pan. Carefully pour hot water into the roasting pan to come 1-inch up the sides of the tin.
- Bake for 20-25 minutes, until puffed, golden brown, and a skewer comes out clean.
- Turn off the oven and crack the door open. Let the cupcakes cool in the oven for 15-20 minutes to prevent sinking.
- Remove from the water bath and cool completely on a wire rack. Dust with powdered sugar before serving.