
The Most Festive and Easiest No-Bake Treat: Speckled Egg Easter Blue Chocolate Bark
There is perhaps nothing more quintessential to the joy of spring and the celebration of Easter than the vibrant colors and playful motifs that accompany the season. While the traditional lamb and elaborate roasts take their place at the center of the dining table, the true fun is often found in the smaller, more charming treats that populate the dessert spread or fill the baskets. If you are looking for a recipe that is visually stunning, incredibly simple to make, and is almost too pretty to eat, you have found your champion: Easter Blue Chocolate Bark with Speckled Eggs. This no-bake recipe is a sensory delight, combining the rich, creamy melt of high-quality white chocolate with the cheerful pop of pastel sprinkles and the delightful crunch of candied eggs. Best of all, it can be made in under 30 minutes, making it a perfect last-minute addition to your Easter brunch or a delightful, hands-on activity to enjoy with children. Let’s dive deep into the world of colored confections and create something truly magical.
What Exactly is Easter Blue Chocolate Bark?
At its core, a chocolate bark is a thin layer of melted chocolate, which is then studded with toppings, allowed to set, and then broken into smaller, irregular pieces. It’s a method of making custom chocolate confections that requires no tempering, no specialized equipment, and offers endless creative potential. Our **Easter Blue Chocolate Bark** takes this concept and transforms it into a festive masterpiece. The base is smooth white chocolate, colored a joyful sky-blue. It is then heavily topped with the icon of the season: speckled candy eggs. These are often small, oval confections with a hard candy shell that is beautifully mottled with brown and white specks, mimicking the appearance of tiny bird eggs. For an added layer of texture and color, we introduce a vibrant array of pastel jimmies. The final, subtle touch, which you can see in our reference image, is a light dusting of fine cocoa powder, which adds depth and a subtle contrast to the sweet notes.
The Art of Getting the Perfect Blue
Working with chocolate can be tricky, especially when it comes to adding color. The most common mistake is using water-based food coloring, which will cause the chocolate to “seize”—becoming a lumpy, unworkable mess. To achieve the beautiful, consistent sky-blue color for this bark, you must use an **oil-based** or **gel food coloring** that is specifically formulated for use with candy or chocolate. These colorants disperse evenly in the fats of the white chocolate without disrupting its delicate chemistry. A little goes a long way, so add just a few drops at a time to your melted white chocolate until you reach the desired hue. If you want to make your blue even more dynamic, you can swirl in different shades of blue for a marbled effect before pouring the main layer. This simple technique can elevate your bark from beautiful to a work of art.
Ingredients You Will Need for Your Speckled Egg Easter Bark
This recipe uses simple, easy-to-find ingredients, but their quality will directly impact the flavor of the final product.
- – 2 cups high-quality white chocolate melting wafers (preferably a brand that uses cocoa butter for a richer flavor)
- – Oil-based or gel-based food coloring (light blue)
- – 1/2 cup speckled candy eggs (various sizes are great)
- – 1/4 cup pastel-colored jimmies or sprinkles
- – 1 tablespoon fine unsweetened cocoa powder (for dusting, optional)
- – 1/4 cup crushed graham cracker crumbs or cookie crumbs (for added texture and visual interest, optional)
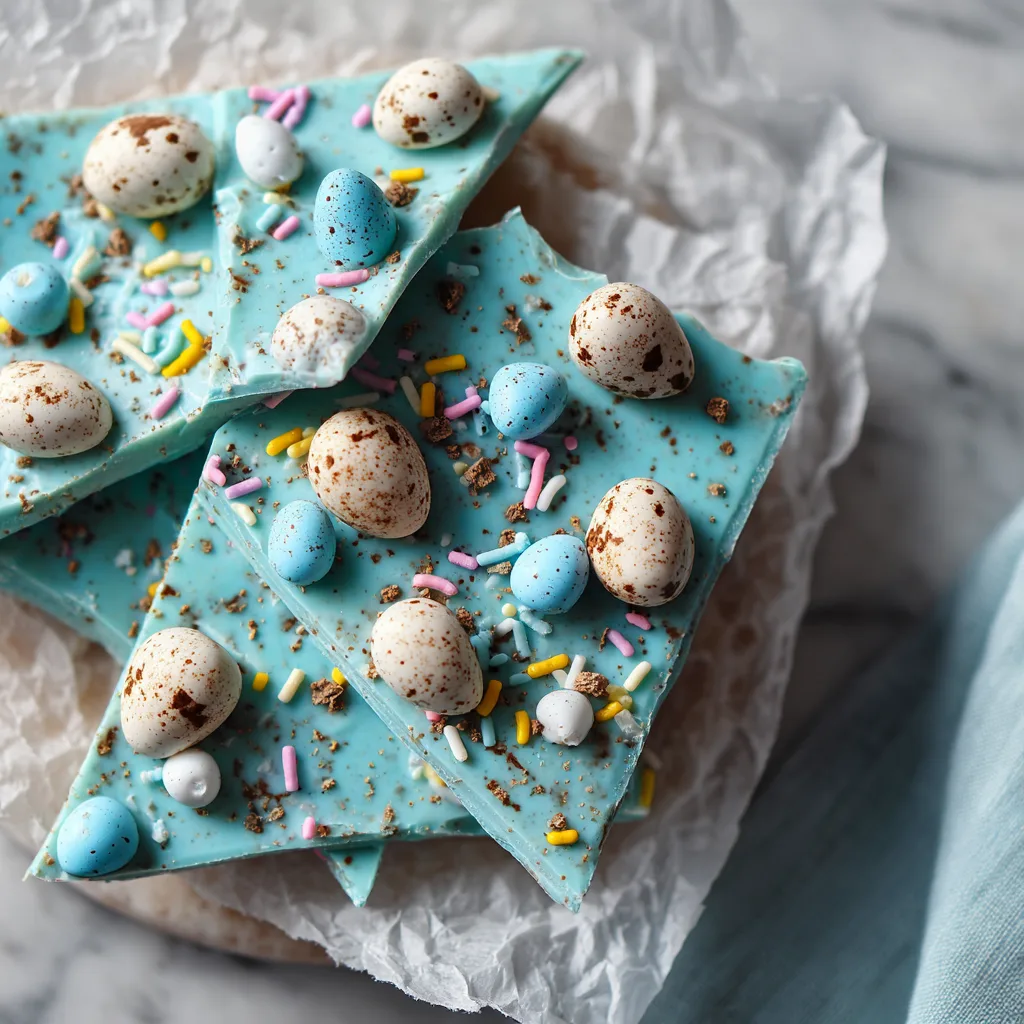
Step-by-Step Instructions to Creating Your Blue Chocolate Bark
- **Step 1: Prep your space.** Line a large, flat baking sheet with parchment paper. This is non-negotiable for easy removal and cleanup. Have all your toppings (speckled eggs, sprinkles, and crumbs) measured and ready to go.
- **Step 2: Melt the white chocolate.** Place your white chocolate melting wafers in a clean, dry, microwave-safe bowl. Heat on 50% power for 1 minute, then stir. Continue to heat in 15-second intervals, stirring thoroughly in between, until the chocolate is smooth and fully melted. Do not overheat, as white chocolate burns easily. If you prefer, you can use a double boiler set over low heat.
- **Step 3: Color your chocolate.** Once the chocolate is melted, add a few drops of the oil-based blue food coloring. Stir well until the color is uniform. Adjust by adding a little more if needed, remembering that the color will deepen slightly as the chocolate sets.
- **Step 4: Create texture (Optional).** If using graham cracker or cookie crumbs, you can gently fold them into the melted, colored chocolate now for a subtle crunch throughout, or wait and dust them on top.
- **Step 5: Pour and spread.** Pour the blue melted chocolate onto the center of your prepared parchment-lined baking sheet. Use an offset spatula or a small knife to spread the chocolate into an even layer, about 1/4 inch thick. Don’t worry about perfect edges—the irregularity is part of the charm.
- **Step 6: Top and decorate.** While the chocolate is still wet, quickly sprinkle the speckled candy eggs and pastel jimmies over the surface. Use your fingers to lightly press the larger eggs into the chocolate to ensure they are secure. Be creative with the placement. This is the moment to get the perfect “Easter” look.
- **Step 7: The finishing touch.** For that final visual flair, lightly dust the surface of your bark with the fine cocoa powder. You can use a small mesh sieve to get an even, subtle dusting, or just a light sprinkle. A few more stray sprinkles for good measure are always a good idea.
- **Step 8: Let it set.** Allow the bark to set completely. This can take about 45 minutes at room temperature, or about 15 minutes in the refrigerator. Do not freeze, as the chocolate can become sweaty when thawed.
- **Step 9: Break and enjoy.** Once the chocolate is firm, peel the parchment paper away from the bark. Place the large piece of bark on a clean surface and use your hands to break it into irregular, decorative pieces. You can also use a sharp knife for more controlled cuts, but the rustic, broken pieces are more fun.
Variations: Making the Recipe Your Own
The beauty of a chocolate bark is that it is a canvas for your creativity. Once you have mastered the blue version, try these delightful variations:
- **A Pastel Rainbow:** Instead of just blue, melt smaller amounts of white chocolate and color them in a range of pastel colors (pink, yellow, green, lavender). Pour them sequentially or swirl them together on the baking sheet for a rainbow bark.
- **Different Candies:** Replace the speckled eggs with other Easter-themed candies, such as miniature chocolate rabbits, jelly beans, or even small sugar cookies cut into shapes.
- **Varying Bases:** Instead of white chocolate, try a dark chocolate base for a sophisticated twist, or a strawberry-flavored pink chocolate.
- **The “Grass” Effect:** For a fun grassy base, use green-colored chocolate and top it with green shredded coconut before adding the eggs.
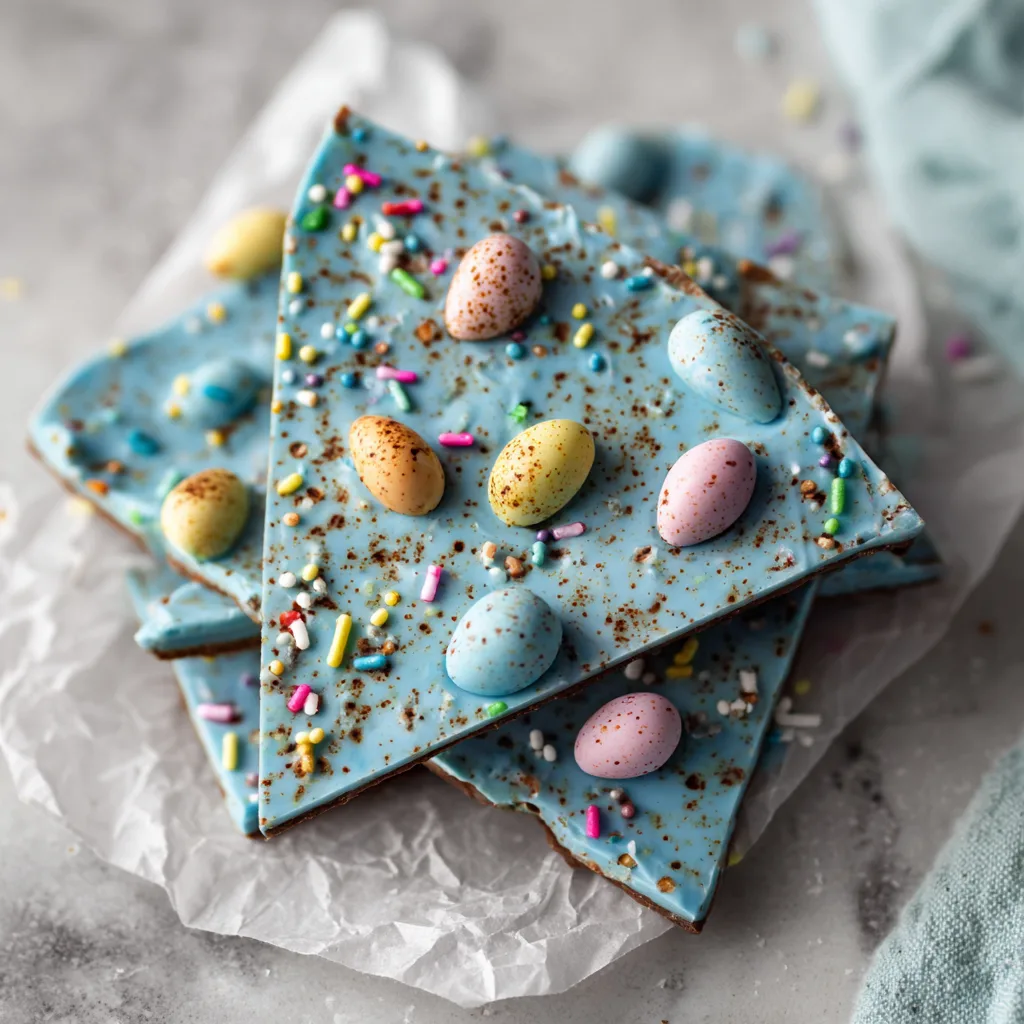
Tips for a Perfectly Textured and Stunning Bark
- **Choose High-Quality Chocolate:** Melting wafers or high-quality chocolate bars designed for melting will produce a better snap and smoother finish than cheap chocolate chips, which often contain stabilisers that can make them grainy.
- **Check for Moisture:** Ensure all your bowls, spatulas, and the parchment paper are completely dry. Even a drop of water will cause the chocolate to seize.
- **Mind the Temperature:** Do not let the chocolate get too hot. White chocolate should never exceed 110°F. If using a double boiler, ensure the water does not touch the bottom of the bowl.
- **Decorate Quickly:** You must add the toppings while the chocolate is still warm and liquid. Once it starts to set, the toppings will not adhere and will fall off.
- **Storage is Key:** Keep your finished bark in an airtight container at cool room temperature. Avoid direct sunlight. While it can be refrigerated, it can sometimes develop a white film (sugar bloom) when exposed to temperature changes.
Serving Suggestions and Presentation Ideas
This bark is a showstopper all on its own, but its presentation can make it even more memorable. For an Easter brunch, pile the broken pieces into a beautiful, decorative glass bowl or on a tiered dessert stand. It looks fantastic served alongside a fresh fruit platter or a slice of classic lemon pound cake. To make the bark a part of a gifting experience, package individual pieces in clear cellophane bags tied with a pretty pastel ribbon, or arrange them in a small, decorated tin with parchment dividers. It makes for a thoughtful and beautiful party favor.
The History and Fun Facts about Easter Candies
The association of eggs with Easter has deep roots in ancient traditions, pre-dating Christianity. Eggs have long been a symbol of fertility and new life. The tradition of decorating eggs led to the creation of candied eggs, starting with simple sugar-shelled almonds and eventually evolving into the multi-colored, speckled chocolate-covered confections we know today. Sprinkles, or jimmies, themselves have a varied and disputed history, with multiple sources claiming to have invented them in the early 20th century. Their universal appeal as a happy, colorful garnish is undeniable. By creating this bark, you are not just making a dessert; you are weaving together layers of culinary history into a joyful modern celebration.
Kid-Friendly Fun and Family Traditions
This is a fantastic recipe to make with children. It is simple, no-bake, and entirely visual. Kids can help measure the ingredients, stir the cooling chocolate (under supervision, of course), color the chocolate, and are the absolute best at the essential task of adding sprinkles and candy eggs with abandon. This can easily become a beloved annual family tradition, a hands-on activity that creates lasting memories as well as delicious treats. Who knows, perhaps the custom of “breaking the bark” will become as much a tradition as the Easter egg hunt itself!
Conclusion
Easter Blue Chocolate Bark is more than just a recipe; it is a celebration in a confection. It is the perfect embodiment of spring—light, bright, colorful, and joyful. With its easy instructions, versatile variations, and stunning final presentation, it is a recipe that every home baker should have in their repertoire. This Easter, go beyond the ordinary and make a treat that is guaranteed to bring a smile to everyone’s face. So, gather your ingredients, fire up the microwave (or the double boiler), and prepare to create the most festive, the easiest, and the most delightful no-bake dessert of the season. Happy Easter, and happy bark-making!


