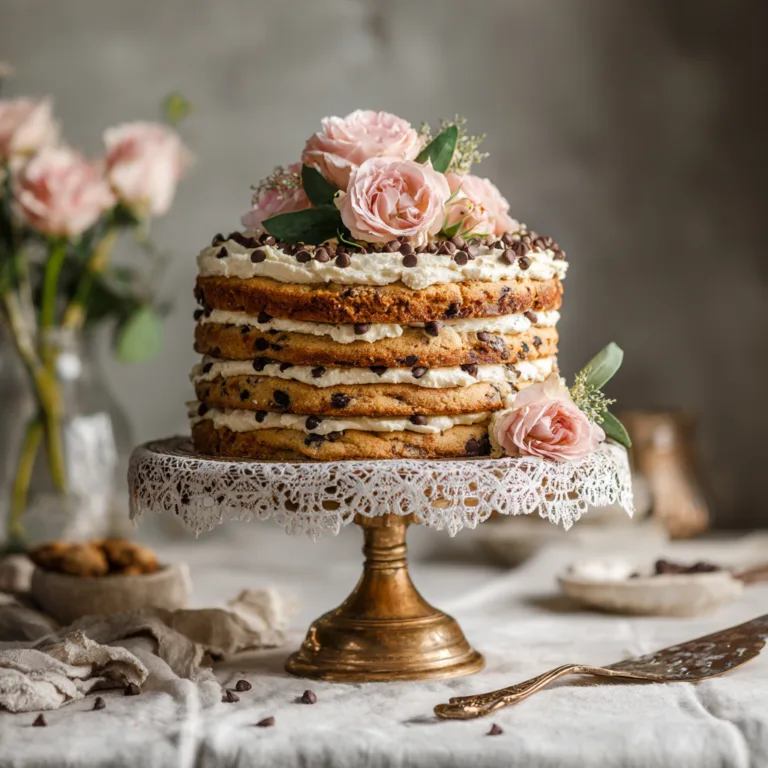
The Ultimate Thick & Chewy Toffee Walnut Chocolate Chunk Cookies: A Masterclass in Texture 🍪🍫🌰
There are cookies, and then there are Cookies with a capital C. The kind that stop you in your tracks when you see them sitting behind the glass of a high-end bakery case. They are impossibly thick, boasting edges that shatter with a caramel-like crunch, while the center remains delightfully soft, gooey, and almost dough-like. The image above isn’t just a sweet treat; it is a promise of comfort. Today, we are unlocking the secrets to recreating these Thick & Chewy Toffee Walnut Chocolate Chunk Cookies right in your own kitchen.
Why do we love this specific combination? It’s the interplay of textures. The walnuts provide an earthy crunch that cuts through the sugar. The toffee bits melt into little pools of caramelized gold that stick to your teeth in the best way possible. And the chocolate? We are ditching standard chips for hand-chopped chunks that offer unpredictable, luxurious pockets of cocoa. In this comprehensive guide, we will explore the chemistry of the perfect dough, the importance of resting time, and how to achieve that signature “bakery look.”
The Ingredients List 📝
To achieve the structural integrity and complex flavor profile seen in the photo, generic ingredients won’t do. Here is what you need to gather:
- – 2 ¼ cups All-Purpose Flour (measured correctly using the spoon-and-level method)
- – 1 tsp Baking Soda (provides the lift and browning)
- – 1 ½ tsp Cornstarch (the secret weapon for softness and thickness)
- – ½ tsp Salt (preferably sea salt to balance the sweet)
- – ¾ cup Unsalted Butter (melted and slightly cooled, this creates a chewier texture than creamed butter)
- – ¾ cup Dark Brown Sugar (packed; essential for moisture and chew)
- – ½ cup Granulated White Sugar (essential for those crispy edges)
- – 1 large Egg + 1 Egg Yolk (the extra yolk adds richness and tenderness)
- – 2 tsp Vanilla Extract (high quality matters here)
- – 1 ½ cups Semi-Sweet or Milk Chocolate (chopped from a bar into chunks)
- – ¾ cup Walnuts (roughly chopped)
- – ½ cup Toffee Bits (or crushed Heath bar)
- – Flaky Sea Salt (for sprinkling on top after baking)
Instructions 🥣
Thick & Chewy Toffee Walnut Chocolate Chunk Cookies
Ingredients
Equipment
Method
- Whisk together flour, baking soda, cornstarch, and salt in a bowl. Set aside.
- In a large mixer, whisk melted butter, brown sugar, and granulated sugar vigorously for 2 minutes until glossy.
- Add the egg, egg yolk, and vanilla extract. Mix until fully combined and light in color.
- Fold in the dry ingredients using a spatula until just a few flour streaks remain.
- Fold in the chocolate chunks, walnuts, and toffee bits until evenly distributed.
- Cover the dough and chill in the refrigerator for at least 2 hours to prevent spreading.
- Preheat oven to 350°F (175°C) and line baking sheets with parchment paper.
- Scoop dough into 3-tablespoon mounds. Roll into balls, tear in half, and press rough sides together on top.
- Bake for 11-13 minutes until edges are golden but centers are soft. Cool on pan for 10 minutes before moving to a rack.
Notes
- Prep the Dry Mix: In a medium bowl, whisk together the flour, baking soda, cornstarch, and salt. Ensure there are no lumps of baking soda. Set this aside. The cornstarch is non-negotiable here; it keeps the proteins in the flour soft.
- The Butter Base: In a large mixing bowl (or stand mixer), pour in the melted butter, brown sugar, and granulated sugar. Whisk vigorously for about 2 minutes. You want the mixture to look smooth and glossy, not grainy. This dissolves some of the sugar, which contributes to that shiny, crackly top.
- Add Liquids: Whisk in the egg, the extra egg yolk, and the vanilla extract. Continue to mix until the batter is lightened in color and fully emulsified.
- Combine: Switch to a rubber spatula or wooden spoon. Pour the dry ingredients into the wet mixture. Mix gently until a few streaks of flour remain. Do not overmix! Overmixing activates gluten and leads to tough cookies.
- The Mix-Ins: Fold in the chocolate chunks, chopped walnuts, and toffee bits. Stir just until they are evenly distributed and no flour streaks are visible.
- The Essential Chill: This step is the difference between a flat pancake and a thick bakery cookie. Cover the bowl with plastic wrap and chill in the refrigerator for at least 2 hours (up to overnight). This solidifies the butter, ensuring the cookie spreads slowly in the oven.
- Preheat and Shape: Preheat your oven to 350°F (175°C). Line large baking sheets with parchment paper. Scoop the cold dough into large mounds (about 3 tablespoons each). Roll them into rough balls, then tear the ball in half and squish the two rough sides together on top. This “rough top” technique creates those beautiful ridges and crags.
- Bake: Place dough balls 3 inches apart. Bake for 11-13 minutes. The edges should be golden brown, but the centers will still look slightly soft and underdone.
- The Scoot (Optional): Immediately after taking the pan out of the oven, place a large round cookie cutter or glass over each cookie and gently swirl it in a circular motion to nudge the edges into a perfect circle.
- Cool: Let them cool on the baking sheet for 10 minutes (they continue to cook and set during this time). Transfer to a wire rack to cool completely.

The Science of “Thick”: Why Cornstarch is King 👑
You might have noticed a peculiar ingredient in our list: Cornstarch. It is not traditionally found in the recipe on the back of the chocolate chip bag, but it is a staple in professional bakeries. Why?
Cookies spread because the fat (butter) melts before the structure (flour/egg) sets. By adding cornstarch, you are adding a thickening agent that doesn’t develop gluten. Gluten makes things chewy and tough (like bread), but we want our cookies to be tender. Cornstarch “shortens” the texture, making the crumb finer and softer, similar to cake flour. Furthermore, it helps hold the cookie’s shape, preventing it from spreading into a sad, thin puddle. If you love that dense, fudge-like center, cornstarch is your best friend.
Chocolate Chunks vs. Chocolate Chips: The Meltdown 🍫
Looking at the image, you see large, glossy pools of chocolate rather than uniform little dots. This is the result of using chopped chocolate bars instead of chips.
Chocolate chips contain stabilizers (like soy lecithin) that are designed to help the chip hold its shape, even at high temperatures. While convenient, they don’t melt seamlessly into the dough. Chopped baking chocolate, however, lacks these excessive stabilizers. When it hits the heat of the oven, it melts completely, creating layers of chocolate throughout the cookie. Additionally, chopping chocolate by hand creates “chocolate dust”—fine shavings that dissolve into the dough, turning the cookie itself slightly chocolate-flavored. For this recipe, a mix of 60% dark chocolate and creamy milk chocolate provides the best balance against the sweet toffee.
The Nutty Truth: Why Walnuts Work Best 🌰
While pecans are a popular choice for cookies, Walnuts are the superior choice for this specific recipe. Walnuts have a slightly more tannic, bitter skin than pecans. This bitterness is crucial. We have a lot of sugar here—brown sugar, white sugar, chocolate, and incredibly sweet toffee bits. If we used a sweet nut like a pecan or macadamia, the cookie might become cloying.
The walnut’s earthiness grounds the flavor profile. Furthermore, walnuts are softer than almonds or hazelnuts, meaning their texture matches the “chew” of the cookie better. When toasted during the baking process, they release oils that perfume the dough, adding a savory note that makes you want to go back for a second bite.
The “Pan-Banging” Technique for Rippled Edges 💥
If you want your cookies to look exactly like the viral Instagram cookies with concentric ripples of crunch, you can employ the “Pan-Banging” method. This technique was popularized recently and works wonders with this dough.
Here is how to do it: 10 minutes into the baking process, open the oven door. Lift the baking sheet up about 4 inches and drop it onto the oven rack. Bang! This force causes the puffed-up center of the cookie to collapse, pushing the soft dough outward. Close the door and let it bake for another 2 minutes. Repeat the bang one more time before removing them. This creates dense, chewy ridges on the outer rim while keeping the center soft.
Storage and Freezing: Cookies on Demand 🧊
One of the best things about this recipe is that it is freezer-friendly. In fact, many bakers argue that the dough tastes better after freezing because the flour fully hydrates and the flavors meld.
Freezing Dough
Scoop the dough into balls and place them on a baking sheet. Freeze for 1 hour until solid. Transfer the frozen balls into a Ziploc bag. They can stay frozen for up to 3 months. When the craving hits, bake them directly from frozen—just add 2 extra minutes to the baking time. No thawing required.
Storing Baked Cookies
To keep baked cookies soft, store them in an airtight container with a slice of white bread. It sounds strange, but the cookies will absorb moisture from the bread, keeping them soft for days while the bread turns rock hard. They will stay fresh at room temperature for up to 4 days.
Troubleshooting: Why is my cookie flat? 🛑
Even with the best recipe, things can go wrong. Here are the common culprits for flat cookies:
- Warm Dough: If you skipped the chilling step, the butter was too warm when it hit the oven.
- Greased Pan: Never grease your cookie sheet with butter or spray. It acts like a slip-and-slide for the dough. Always use parchment paper or a silicone baking mat.
- Expired Baking Soda: If your leavening agent is old, it won’t provide the “lift” needed to hold the structure.
Conclusion: The Sweetest Reward
Making these Toffee Walnut Chocolate Chunk Cookies is a labor of love, but the reward is unparalleled. The moment you pull that tray out of the oven, the smell of browned butter, toasted nuts, and caramelized sugar fills the house, creating an atmosphere of pure warmth. These aren’t just snacks; they are edible hugs.
So, pour yourself a tall glass of cold milk, let the cookies cool just enough so they don’t burn your tongue (but are still warm enough to be messy), and enjoy the best cookie you will ever bake. Happy baking!