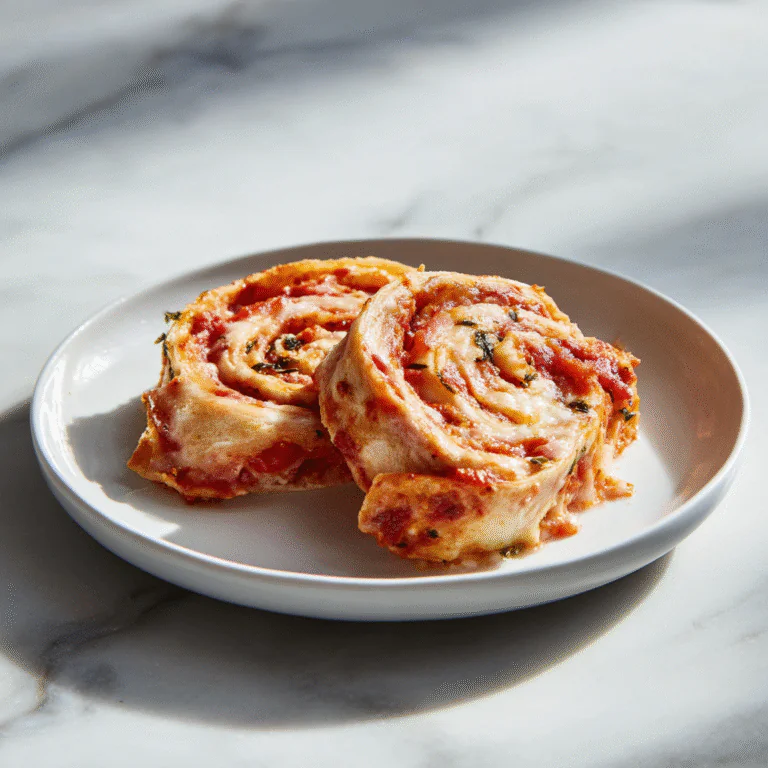
The Golden Alchemy: A Master Class in Crafting the Perfect Salted Caramel Bites 🍯✨
There is something fundamentally magical about the transformation of simple, white granulated sugar into a deep, amber liquid that smells of toasted nuts and childhood memories. This process, known as caramelization, is the heartbeat of many of the world’s most beloved desserts. But when you introduce the sharp, clean bite of sea salt and the velvety richness of heavy cream, you create “Salted Caramel”—a flavor profile that has transcended being a mere trend to become a timeless culinary staple.
🏺 The Ancient Allure of Caramelized Sugar
Before we dive into the pots and pans, it is worth appreciating the history of this golden treat. While the exact origins of caramel are debated, it is widely believed that early forms were created by Persians around 1000 AD. These early “caramels” were more like hard candies made by boiling sugar and water. It wasn’t until the 19th century that milk and fat were added to the mix, giving us the chewy, soft texture we associate with modern caramels.
The “salted” revolution, however, is much more recent. We owe much of this to Henri Le Roux, a French chocolatier from Brittany. In the late 1970s, he realized that the famous salted butter of his region was the perfect partner for sugar. The result was a salted butter caramel that won the “Best Candy in France” award in 1980, and the rest is delicious history.
🌡️ The Science of the “Sugar Stages”
Candy making is often viewed as a dark art, but it is actually precise chemistry. To make these Salted Caramel Bites, you must navigate the temperature scale. Understanding these stages is the difference between a sauce, a chewy candy, and a tooth-breaking hard sweet:
- Soft Ball Stage (235°F–240°F): This is where you make fudge or soft caramels.
- Firm Ball Stage (245°F–250°F): This is the “sweet spot” for our recipe. It ensures the bites hold their shape but still melt in your mouth.
- Hard Ball Stage (250°F–265°F): Used for marshmallows and rock candy.
- Soft Crack Stage (270°F–290°F): Perfect for salt water taffy.
Using a high-quality candy thermometer is non-negotiable. While “cold water tests” are classic, digital precision ensures that every batch of your salted caramel is consistent.
🧈 The Importance of Ingredient Quality
Because this recipe has so few ingredients, the quality of each one is amplified.
- The Butter: Use high-fat European-style butter if possible. The lower water content leads to a creamier finish.
- The Cream: Always use heavy whipping cream. Half-and-half or milk will not provide the necessary fat structure to stabilize the sugar.
- The Salt: This is the star. Don’t use standard table salt. You want large, flaky sea salt (like Maldon) or Fleur de Sel. These provide “bursts” of saltiness that contrast against the sugar, rather than just making the whole thing taste salty.
🛠️ Essential Tools for Success
Before you turn on the stove, ensure you have these items ready:
- A heavy-bottomed stainless steel saucepan (Avoid thin pans which create hot spots).
- A reliable digital candy thermometer.
- A silicone spatula (which can withstand high heat).
- Parchment paper or a silicone baking mat.
📋 Ingredients
- 2 cups granulated white sugar
- 1/2 cup water
- 1 cup heavy whipping cream (room temperature)
- 4 tablespoons unsalted butter (cut into cubes)
- 1 tablespoon pure vanilla extract
- 1 to 2 tablespoons flaky sea salt (for topping)
- 1/4 teaspoon fine sea salt (for the mixture)
👩🍳 Instructions
- Prepare Your Space: Line a small baking sheet or a 9×9 inch square pan with parchment paper. Lightly grease the parchment with a tiny bit of butter or neutral oil to ensure easy removal.
- The Sugar Base: In your heavy-bottomed saucepan, combine the sugar and water. Stir over medium heat until the sugar is mostly dissolved.
- The Caramelization: Increase the heat to medium-high. Stop stirring! If sugar crystals form on the sides of the pan, use a wet pastry brush to wash them down. Watch the pan closely as the mixture turns from clear to pale yellow, then to a deep amber gold.
- The Temperature Check: Use your thermometer. You are looking for the amber color to be rich but not burnt. This usually happens around 330°F to 350°F for the sugar alone.
- The “Big Stir”: Once the sugar is a deep amber, carefully and slowly pour in the heavy cream. Warning: The mixture will bubble up violently and steam. This is normal! Keep whisking or stirring with your silicone spatula until the mixture is smooth.
- Add Butter and Fine Salt: Stir in the cubed butter and the 1/4 teaspoon of fine sea salt. Continue cooking the mixture over medium heat.
- The Final Climb: Watch your thermometer carefully. You need to cook the mixture until it reaches the Firm Ball Stage (248°F). This ensures your bites aren’t too runny.
- Final Additions: Remove the pan from the heat and stir in the vanilla extract.
- Setting the Bites: For the “button” look seen in the photo, allow the caramel to cool in the pan for about 10-15 minutes until it thickens but is still pourable. Use a teaspoon or a piping bag to drop small circles onto your prepared parchment paper.
- The Salt Garnish: While the caramel is still tacky (but not liquid), sprinkle a generous amount of flaky sea salt over each bite.
- Cooling: Allow the bites to set at room temperature for at least 3-4 hours, or ideally overnight, before peeling them off the parchment.
💡 Troubleshooting and Pro-Tips
- My Caramel is Grainy: This happens if sugar crystals fall into the syrup. Ensure you don’t stir once it starts boiling, and use that wet pastry brush on the sides!
- The Mixture Separated: If the butter starts to pool on top, it usually means the heat was too high too fast. You can sometimes save this by adding a tablespoon of very hot water and whisking vigorously.
- Safety First: Sugar burns are some of the worst in the kitchen because the liquid sticks to the skin. Always wear long sleeves and keep a bowl of ice water nearby just in case.
🎁 Gifting and Storage Ideas
Salted caramel bites make the ultimate homemade gift.
- Storage: Store them in an airtight container between layers of parchment paper. They will last at room temperature for 2 weeks or in the fridge for a month.
- Packaging: Wrap individual bites in small squares of wax paper and twist the ends for a classic “candy shop” look. Place them in a glass jar with a ribbon for a beautiful artisanal gift.
🍷 Flavor Pairings
While these bites are perfect on their own, they also pair beautifully with:
- Dark Roast Coffee: The bitterness of the coffee cuts through the sugar.
- Bourbon or Scotch: The smoky notes of the alcohol complement the toasted sugar.
- Apples and Pears: Use these bites as a topping for fresh fruit slices for a sophisticated snack.
✨ Final Thoughts: The Joy of Handmade Sweets
There is a profound sense of accomplishment in making your own candy. In an age of mass-produced sweets, the slightly irregular shape of a handmade caramel bite and the intentional placement of sea salt flakes tell a story of care and craft. These Salted Caramel Bites aren’t just a dessert; they are a conversation starter and a testament to the beauty of simple ingredients handled with patience.
The Sweet Conclusion
As you peel that first golden button off the parchment and feel the salt crunch against the soft, buttery caramel, you’ll realize that the effort was worth every second. Whether you’re sharing these with friends or hoarding them for your own midnight snack, you’ve mastered one of the most elegant techniques in the pastry world. Keep experimenting with the “darkness” of your caramel and the types of salt you use—your perfect bite is just a boil away!
Handcrafted Salted Caramel Bites
Ingredients
Equipment
Method
- Line a baking sheet with parchment paper and set aside.
- In a heavy saucepan, combine sugar and water. Stir over medium heat until sugar dissolves.
- Increase heat to medium-high and boil without stirring until the mixture turns a deep amber color.
- Carefully whisk in the heavy cream (it will bubble up). Stir until smooth.
- Add butter and fine salt. Cook until the thermometer reaches 248°F (firm ball stage).
- Remove from heat and stir in vanilla extract.
- Drop small spoonfuls of caramel onto the parchment paper to form bite-sized buttons.
- Sprinkle each bite with flaky sea salt while still warm. Allow to cool completely (3-4 hours) before serving.