
Classic Homemade Blackberry Jam (No Pectin Needed)
There is a profound satisfaction in capturing the essence of summer in a jar. This Classic Homemade Blackberry Jam is the perfect way to preserve the deep, wine-like flavor of fresh blackberries. Unlike store-bought varieties that are often overly sweet and gelatinous, this homemade version is rich, slightly tart, and packed with whole fruit texture. It’s a versatile spread that elevates everything from morning toast to savory cheese boards.
In this guide, we will explore the simplicity of making jam without commercial pectin, relying instead on the natural setting properties of the fruit itself. We’ll cover how to select the best berries, the science of the “gel point,” and how to safely jar your creation so you can enjoy a taste of sunshine in the middle of winter.
Why Homemade Jam Wins Every Time
Making your own jam allows you to control the ingredients and the outcome. Here is why this recipe is a keeper:
Pure Flavor Profile
Commercial jams often use high-fructose corn syrup and added flavors. This recipe uses only three simple ingredients: blackberries, sugar, and lemon juice. This purity allows the complex, floral notes of the blackberries to shine through without being masked by cloying sweetness.
Texture You Can Feel
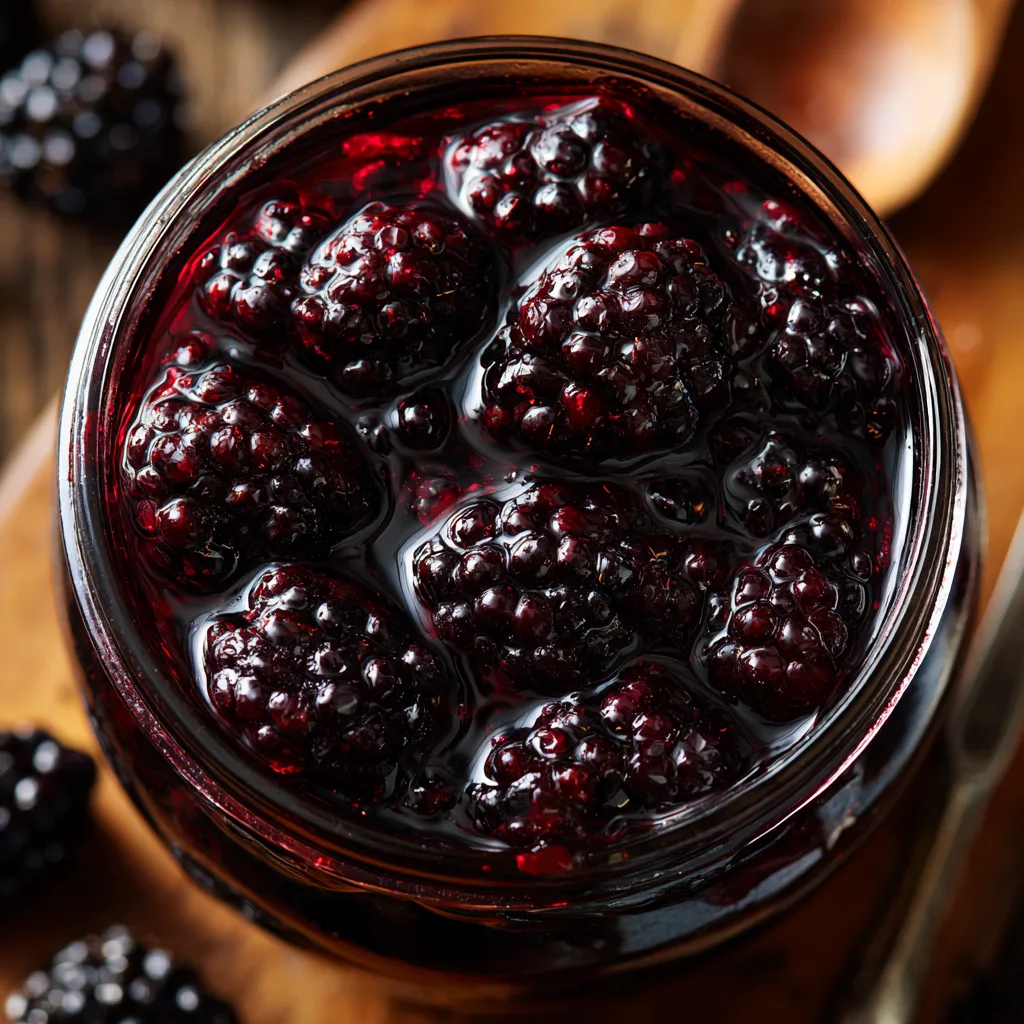
One of the joys of this jam is its rustic texture. We leave many of the berries whole or in large chunks, providing a delightful mouthfeel that you simply don’t get with smooth, processed jellies. The seeds add a slight crunch that is characteristic of authentic blackberry preserves.
No Artificial Thickeners
Blackberries are naturally high in pectin, especially when they are slightly underripe. By cooking the jam down slowly, we concentrate the natural pectin and sugars, creating a set that is soft and spreadable rather than stiff and rubbery.
The Science of Jam Making: The Gel Point
The most intimidating part of making jam for beginners is knowing when it is “done.” If you stop too early, you have syrup; too late, and you have candy.
The Plate Test: Place a small saucer in the freezer before you start cooking. When you think the jam is ready (usually after reaching 220°F/104°C), drop a teaspoon of hot jam onto the cold plate. Let it sit for a minute, then push it with your finger. If it wrinkles and holds its shape, it’s ready. If it runs back together like water, it needs more time.
The Sheet Test: Dip a cold metal spoon into the boiling jam and lift it up. If the drops run together and “sheet” off the spoon in a wide drip rather than small individual droplets, the jam is set.
Ingredients
You don’t need a pantry full of chemicals for this recipe. Just simple, honest ingredients.
Old Fashioned Blackberry Jam
Ingredients
Equipment
Method
- Place a small plate in the freezer for testing the jam set later.
- Combine blackberries and sugar in a large pot. Let sit for 30-60 minutes to macerate.
- Add lemon juice and zest. Bring mixture to a rolling boil over medium-high heat, stirring constantly.
- Reduce heat to maintain a steady boil. Cook for 15-25 minutes, skimming foam if desired.
- Test for doneness: Drop a teaspoon of jam on the frozen plate. If it wrinkles when pushed, it is ready (220°F).
- Remove from heat and ladle into clean, warm jars, leaving 1/4 inch headspace.
- Wipe rims, seal with lids, and cool completely or process in a water bath for 10 minutes.
Notes
Instructions
Follow these steps to create a jar of dark purple magic.
- Prep the Jars: If you plan to can the jam for long-term storage, sterilize your jars and lids in boiling water. Keep them warm until ready to fill. If making a refrigerator batch, simply ensure your jars are very clean and hot.
- Macerate the Berries: In a large, heavy-bottomed pot or Dutch oven, combine the blackberries and sugar. Stir gently to coat. Let this mixture sit for 30 minutes to 1 hour. This process, called maceration, draws the juices out of the berries and dissolves the sugar, preventing burning later on.
- Start Cooking: Place the pot over medium-high heat. Add the lemon juice and zest. Stir constantly until the sugar is completely dissolved and the mixture comes to a full rolling boil.
- Boil and Reduce: Once boiling, reduce the heat slightly to medium but maintain a steady boil. You will see foam rising to the top; this is normal. You can skim it off if you prefer a clear jam, or add a dab of butter to help it settle.
- Cook to the Set Point: Continue cooking for 15-25 minutes, stirring frequently to prevent sticking. The jam will darken in color and thicken. Use a candy thermometer to check for 220°F (104°C) or use the “frozen plate test” described above.
- Jar the Jam: Remove the pot from the heat. Carefully ladle the hot jam into your prepared warm jars, leaving about 1/4 inch of headspace at the top.
- Seal and Cool: Wipe the rims of the jars with a clean, damp cloth to remove any sticky residue. Place the lids on finger-tight. If canning, process in a boiling water bath for 10 minutes. If not, let them cool on the counter until the lids “pop” and seal, then store in the refrigerator.
Serving Suggestions
While toast is the obvious choice, this blackberry jam is incredibly versatile in the kitchen.
- Cheese Pairings: The tartness of blackberries cuts through rich cheeses beautifully. Serve it alongside Brie, Camembert, or a sharp Goat Cheese.
- Yogurt Parfaits: Swirl a spoonful into Greek yogurt and top with granola for a breakfast that feels like dessert.
- Savory Glazes: Mix the jam with a little balsamic vinegar and mustard to create a glaze for roast pork or duck.
Troubleshooting Common Issues
My jam is too runny: It likely didn’t cook long enough or didn’t have enough acid. You can recook it with a little added lemon juice or commercial pectin if necessary.
My jam is too hard: It was cooked past the setting point. It is still safe to eat; try warming it slightly in the microwave before spreading.
Crystals formed in the jam: This usually means the sugar didn’t dissolve completely before boiling, or there was too much sugar for the amount of fruit.
Conclusion
Making Homemade Blackberry Jam is a rewarding tradition that connects you to the seasons. The result is a jar of intense, fruity flavor that far surpasses anything you can buy at the supermarket. Whether you gift it to friends or hoard it for yourself, every spoonful is a reminder of warm summer days.


