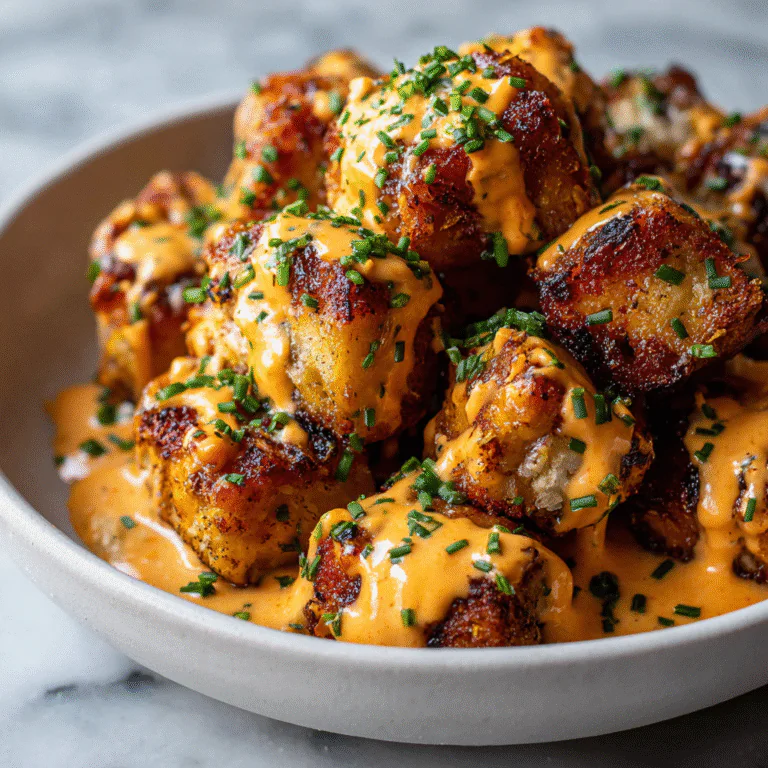
🧅 Crispy Mini Bloomin’ Onions: The Ultimate Appetizer with a Spicy Dipping Sauce
Introduction
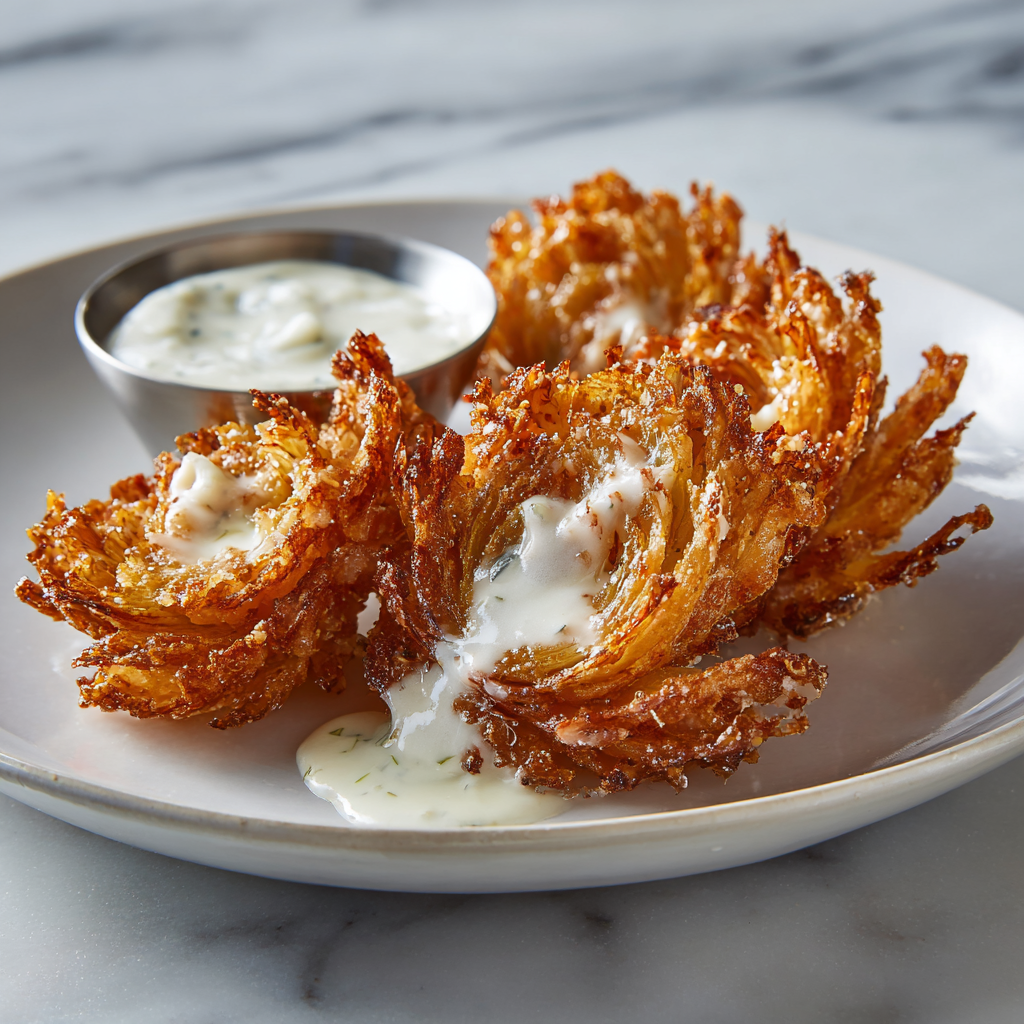
Few appetizers command attention like the Bloomin’ Onion. It is a showstopper, a centerpiece, and arguably one of the greatest food feats in the realm of casual dining. The only problem? It’s huge, messy, and generally requires a dedicated team of eaters. Today, we’re shrinking the spectacle without sacrificing any of the legendary crunch or flavor, presenting the Crispy Mini Bloomin’ Onions.
This recipe takes the same phenomenal concept—the delicate onion petals, the thick, crunchy seasoned crust, and the necessary creamy, gooey dipping sauce—and miniaturizes it for easier portion control and faster frying. Using small to medium-sized onions allows for a quicker cook time and a higher crust-to-onion ratio, resulting in maximum crunch in every single bite.
This is the ultimate game day snack, party appetizer, or just a wonderfully indulgent way to start any meal. It requires a little patience for the cutting and the soak, but the result is nothing short of spectacular: tender, sweet onion encased in a savory, craggy, and intensely crispy shell. Served alongside a homemade, spicy, viscous dipping sauce, these mini onions are guaranteed to disappear before you can grab a second helping.
🔪 The Blooming Technique: Size Matters
The “bloom” is the key to this recipe. The method is simple but requires precision: cutting the onion nearly all the way through, but leaving the core intact so the petals separate without detaching.
- Choosing the Onion: We opt for small to medium yellow or white onions. The smaller size means the onion cooks evenly and quickly, preventing the inner layers from becoming mushy before the exterior is adequately crisp.
- The Core Cut: The trick is using a sharp knife and starting at the top (root end). Cut downwards, stopping about half an inch from the bottom root. This intact root is the foundation that holds the entire structure together. Aim for 8 to 12 even cuts around the onion.
- Opening the Petals: Once cut, gently spread the petals open. If you’re struggling, soaking them in an ice bath for 30 minutes helps the natural fibers relax and bloom outward without tearing.
🥛 The Buttermilk Soak: Tenderizing and De-Stinging
Before they hit the batter, these mini blooms need a long soak. This step is non-negotiable for two critical reasons:
- Flavor Mitigation: Raw onions, especially white ones, can have a harsh, pungent bite. Buttermilk is mildly acidic and helps to draw out some of that raw, sulfuric sharpness, leaving the onion with a sweeter, milder flavor once cooked.
- Adhesion Power: The proteins in the buttermilk cling to the slightly slimy surface of the onion petals. This gives the subsequent flour coating something substantial to adhere to, which is absolutely necessary for building that desired double-thick crispy crust. Without the soak, the dry batter would simply fall off.
🌶️ The Creamy, Spicy Sauce: A Viscous Necessity
A Bloomin’ Onion is nothing without its dipping sauce. We need a sauce that is rich, tangy, and, most importantly, thick and viscous. A watery sauce would slide right off the crispy petals.
Our sauce uses a mayonnaise base (for fat and stability) and adds horseradish (for heat and aroma), Dijon mustard (for tang), and a generous blend of spices like paprika and cayenne pepper. The thickness of the mayonnaise, coupled with the fine spice particles, creates that necessary heavy body that clings beautifully to the craggy, coarse texture of the fried onion crust.
📝 Ingredients
Here is your list for this crowd-pleasing appetizer and its required dipping sauce.
For the Crispy Onions:
- 4-6 Small to Medium White or Yellow Onions
- 4 cups Buttermilk (for soaking)
- 3 cups All-Purpose Flour
- 1 cup Cornstarch (for extra crispiness)
- 2 tbsp Smoked Paprika
- 1 tbsp Garlic Powder
- 1 tbsp Onion Powder
- 1 tsp Cayenne Pepper (adjust to taste)
- 2 tsp Salt
- 1 tsp Black Pepper
- Vegetable Oil (for deep frying)
For the Spicy Dipping Sauce:
- 1 cup Mayonnaise (full fat)
- 2 tbsp Ketchup
- 2 tbsp Prepared Horseradish (freshly grated is best)
- 1 tbsp Dijon Mustard
- 1 tsp Worcestershire Sauce
- 1 tsp Smoked Paprika
- 1/2 tsp Garlic Powder
- 1/4 tsp Cayenne Pepper (more if desired)
- Salt and Pepper to taste
👩🍳 Instructions
Follow these steps carefully for the perfect crunch and texture.
- Prep the Onions:
Peel the outer skin of the onions. Using a sharp paring knife, cut the top of the onion off. Place the onion root-side down. Starting about 1/2 inch from the root, make a cut down toward the base. Repeat 7-11 times, ensuring the cuts are evenly spaced, leaving the root intact to hold the petals together. - The Buttermilk Soak:
Gently open the petals. Place the onions in a large bowl and pour buttermilk over them, ensuring they are fully submerged. Let them soak for at least 1 hour, or up to 3 hours, in the refrigerator. - Make the Sauce:
While the onions soak, prepare the dipping sauce. In a small bowl, whisk together all the sauce ingredients (mayonnaise through cayenne pepper). Taste and adjust seasoning (add more horseradish for heat, more ketchup for sweetness). The sauce should be very thick. Cover and refrigerate until serving. - Prepare the Dredging Mixture:
In a large bowl, whisk together the flour, cornstarch, smoked paprika, garlic powder, onion powder, cayenne pepper, salt, and pepper. This is your dry mix. - The Double Dredge (The Crunch Secret):
Remove one onion from the buttermilk, letting the excess drip off. Dredge the onion thoroughly in the dry mix, forcing the mixture down between the petals. Shake off the excess.
Dip the floured onion back into the remaining buttermilk, ensuring it gets into all crevices.
Finally, dip the onion back into the dry mix for a second, final coating. Again, press the coating firmly into the petals. This double dredge is what creates that thick, craggy crust. Repeat for all onions. - Heat the Oil:
Heat 3-4 inches of vegetable oil in a large, deep pot or Dutch oven until it reaches $350^\circ\text{F}$ ($175^\circ\text{C}$). Use a thermometer—the temperature is crucial for crispiness without burning. - Fry the Onions:
Carefully lower one or two onions (do not overcrowd the pot!) into the hot oil, root side up. Fry for 4-6 minutes, then carefully flip with tongs. Fry for another 4-6 minutes, or until the onions are deep golden brown and the petals have fully separated. - Drain and Serve:
Remove the onions with a spider or slotted spoon and place them immediately on a wire rack lined with paper towels to drain excess oil. Sprinkle lightly with salt while hot. Serve immediately with the chilled spicy dipping sauce in the center.
🌡️ Frying Science and Safety
Frying is often intimidating, but a few simple rules ensure safety and success:
- Temperature Control: Maintain $350^\circ\text{F}$ ($175^\circ\text{C}$). If the oil is too cool, the crust soaks up too much grease (soggy!). If it is too hot ($400^\circ\text{F}$), the crust burns before the onion is cooked (burnt!).
- Batch Frying: Only fry one or two mini onions at a time. Adding too many cold onions drops the oil temperature dramatically, leading to the “soggy” problem.
- Safety First: Never leave hot oil unattended. Use a deep pot to prevent boil-overs. If the oil smokes, turn off the heat immediately.
♨️ Air Fryer/Oven Alternatives (For the Health-Conscious)
While deep-frying yields the authentic, super-crispy result, you can use these methods for a lighter alternative.
- Oven: Spray the double-dredged onion heavily with cooking spray or melted butter. Bake at $425^\circ\text{F}$ ($220^\circ\text{C}$) for 25-30 minutes, flipping halfway, until golden and crisp.
- Air Fryer: Spray heavily with oil. Air fry at $375^\circ\text{F}$ ($190^\circ\text{C}$) for 15-20 minutes, opening and spraying again halfway, until deeply golden.
- Note: Neither method will produce the same heavy, craggy crust as deep-frying, but they will be crunchy and delicious nonetheless.
🥳 Conclusion
The Crispy Mini Bloomin’ Onions are proof that the best appetizers don’t need to be complicated, just crispy and well-seasoned. The satisfying crunch of the double-dredged crust, the tender sweetness of the onion, and the sharp tang of the spicy dipping sauce come together to create a truly irresistible snack.
This is the perfect recipe for those times when you need comfort, crunch, and a delicious, shared experience. So grab your oil, perfect your cutting technique, and get ready to wow your guests with this beautifully bloomed, bite-sized appetizer!
Crispy Mini Bloomin’ Onions
Ingredients
Equipment
Method
- Peel and score onions: cut down toward the root 8-12 times, stopping 1/2 inch from the base to keep the core intact.
- Soak scored onions in buttermilk for 1-3 hours in the refrigerator.
- Mix all dipping sauce ingredients and refrigerate until serving.
- Mix flour, cornstarch, and all dry spices in a large bowl (dredging mix).
- Double dredge onions: dip onion (from buttermilk) in dry mix, back in buttermilk, and back in dry mix, pressing firmly to coat.
- Heat oil to 350°F (175°C). Carefully fry 1-2 onions at a time for 4-6 minutes per side, until deeply golden brown.
- Remove to a wire rack, drain, salt lightly, and serve immediately with the dipping sauce.